Bundle dyeing 101 — how to bundle dye with plants on fabric
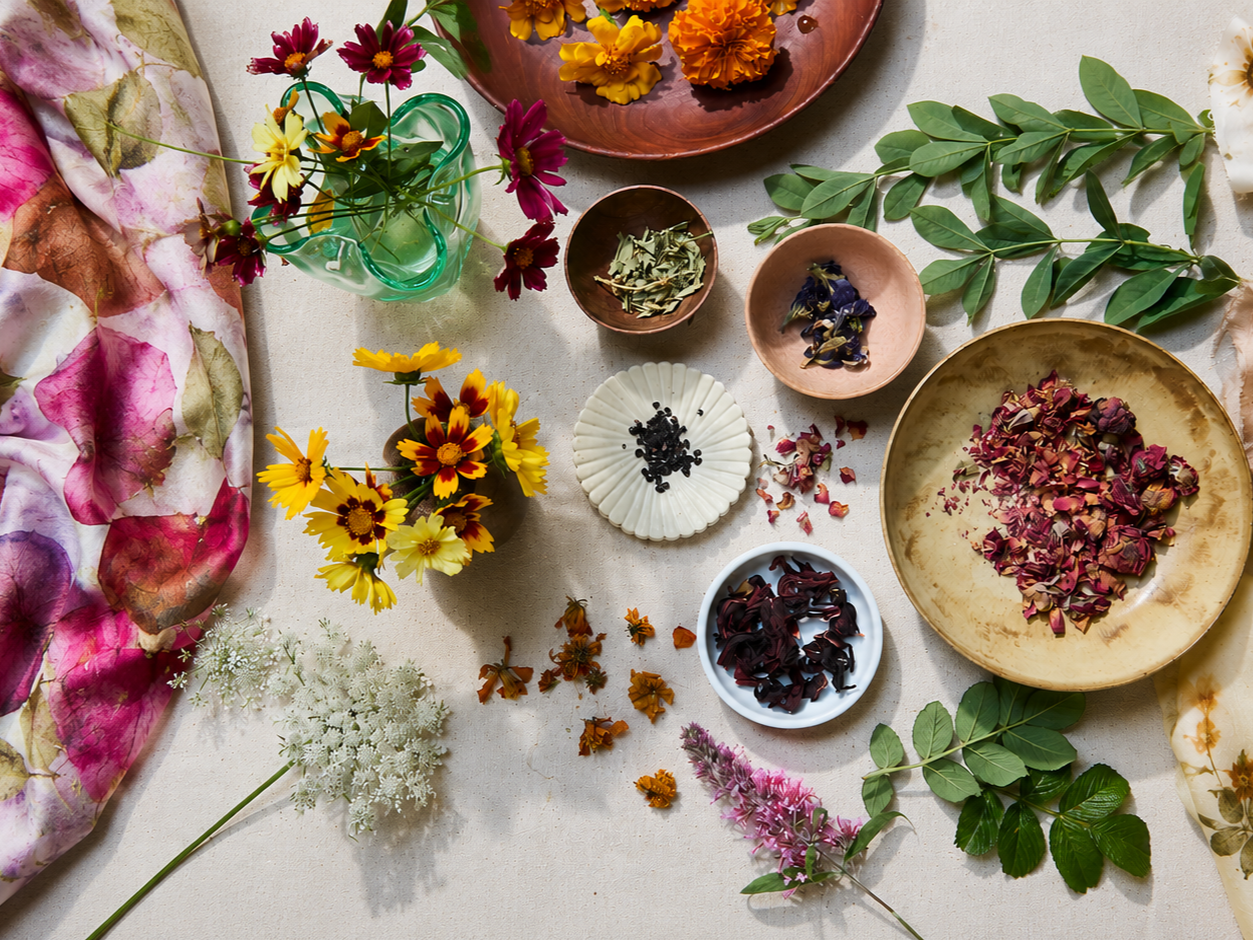
Bundle dyeing with Flora Obscura— using fresh and dried botanicals to create alluring imprints on silk and natural fibers.
What is Bundle Dyeing?
Bundle dyeing is a little like making a botanical bouquet inside your textile. Flowers, leaves, petals, and other plant matter are arranged directly onto the fabric, then tightly rolled or folded into a bundle and steamed or heated. As the bundle opens, the plants release their color, leaving behind a spontaneous tapestry of blooms, marks, shadows, and stains.
Botanical contact printing is more about capturing the actual impression of the plant. Leaves and flowers are placed intentionally against the fabric so their pigments, tannins, and natural shapes transfer onto the surface—often revealing recognizable veins, silhouettes, and delicate details.
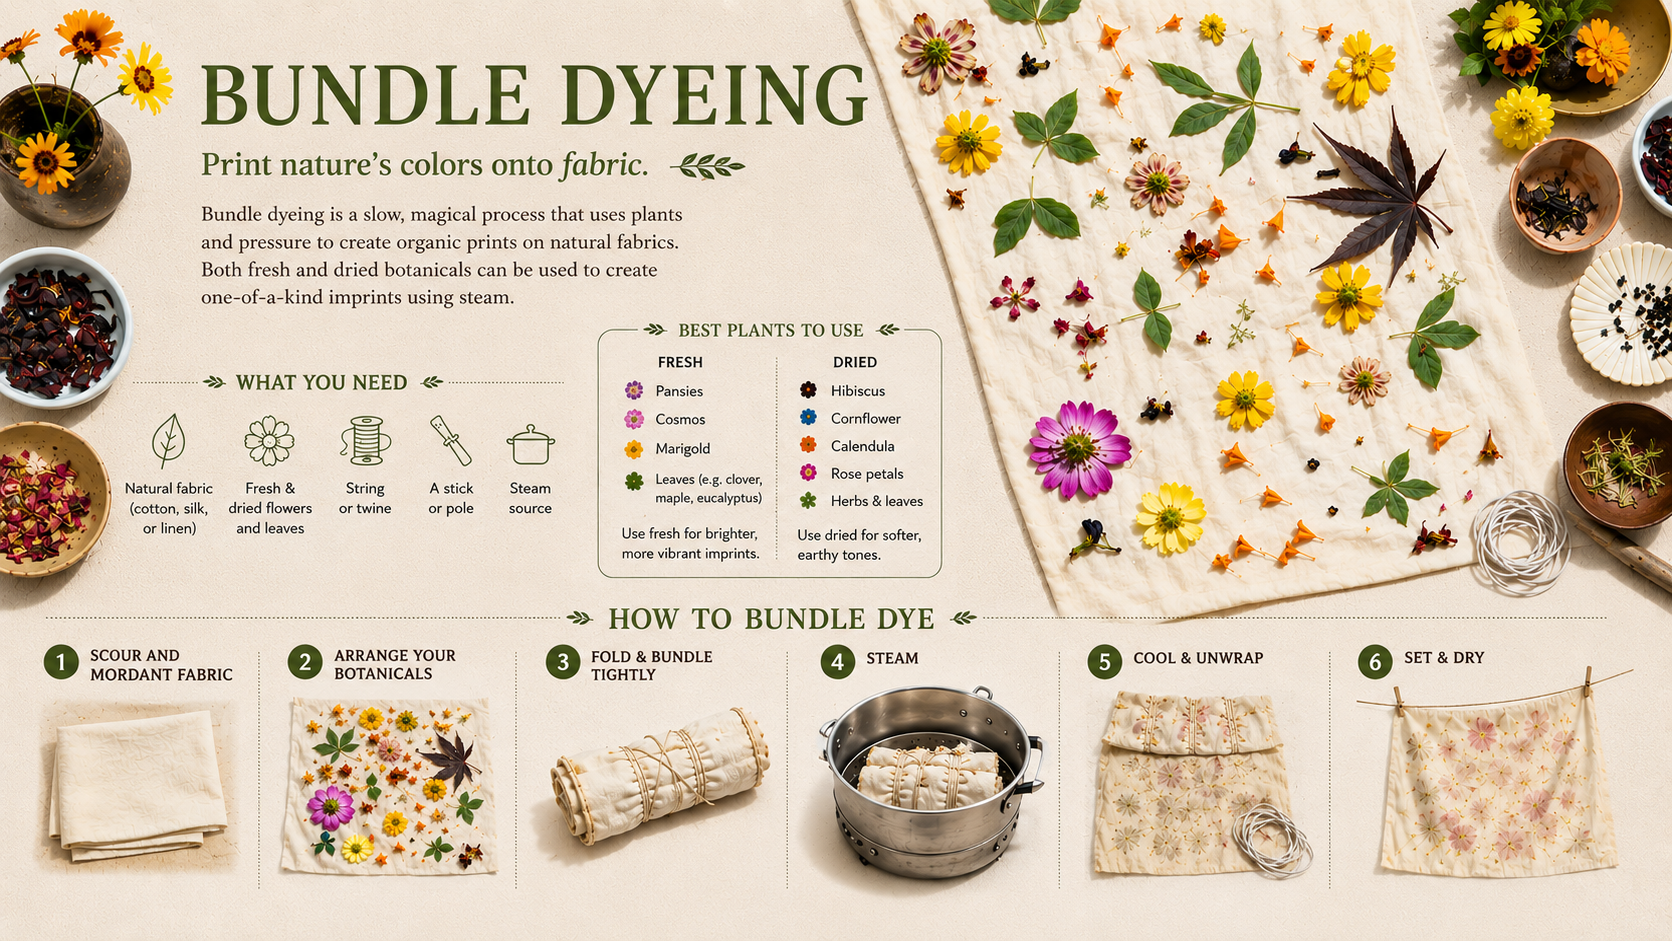
What You'll Need
You don't need a complicated studio setup to begin.
Fabric— Silk is particularly beautiful for bundle dyeing because it readily accepts natural dyes and has a luminous surface.
Try:
Silk charmeuse
Silk habotai
Silk crepe
Silk scarves
Silk pillowcases
For best results, use fabric that has been properly prepared for natural dyeing. If you're working with a pre-mordanted silk, you can skip the mordanting step and begin arranging your botanicals.
Botanicals
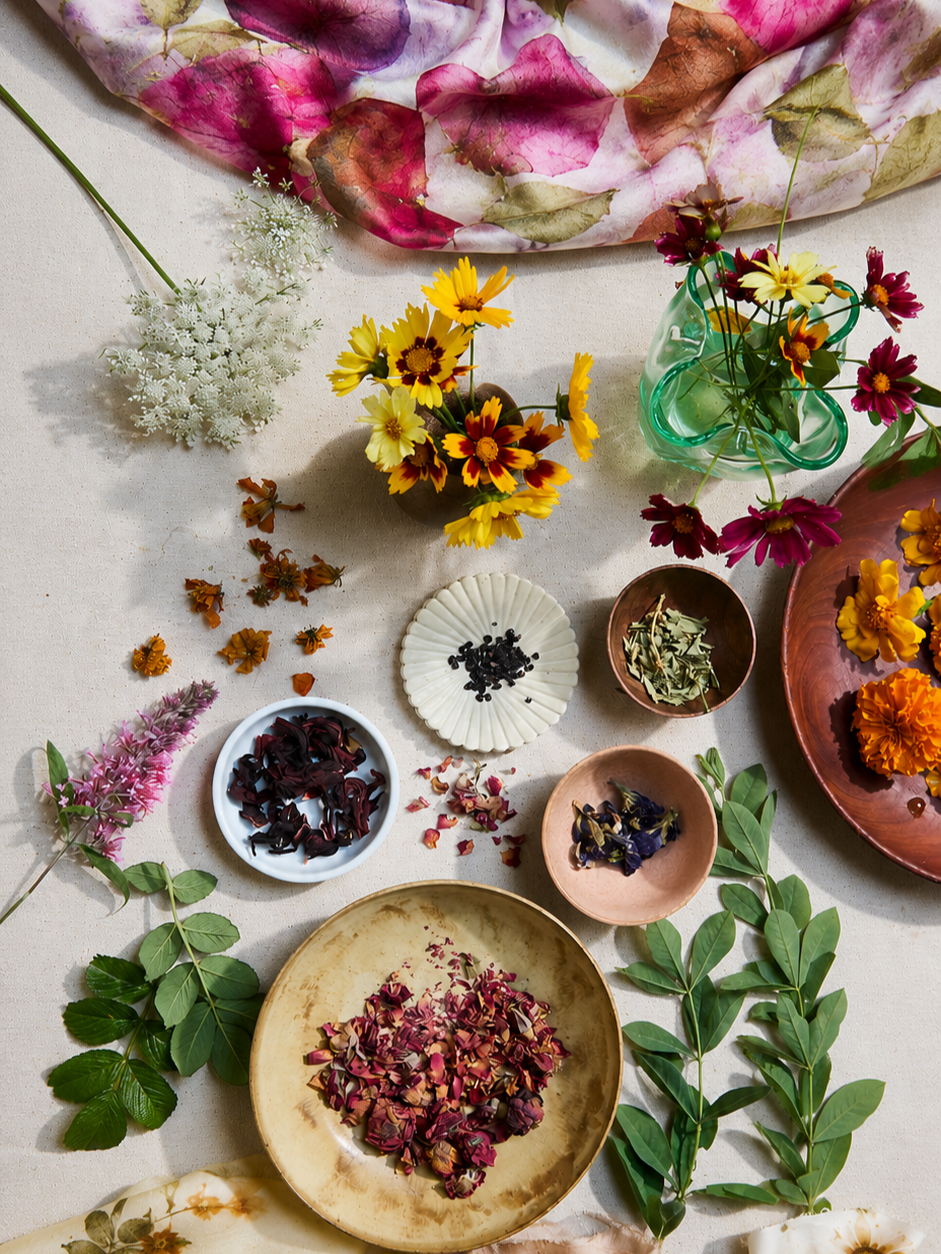
Experiment with what is growing around you. Some flowers and plants that can be especially interesting (and used dried) include:
Cosmos
Roses
Marigolds
Coreopsis
Dahlias
Chrysanthemums
Geraniums
Goldenrod
Eucalyptus
Sumac
Oak leaves
Maple leaves
Fresh flowers can create wonderfully juicy marks, while dried flowers often behave differently and can produce more concentrated or surprising colors.
Don't be afraid to experiment with plants that don't look particularly colorful. Some of the most beautiful bundle-dye results come from plants that seem completely unassuming.
A Steamer
A large pot with a steamer insert works beautifully, I use a Mexican vaporera (used for steaming tamales).
You'll also need:
Bandage or elastic string
A dowel, stick, or other rolling surface
Workspace or clean table to place fabric on
Access to water
Access to an electric, gas, wood or propane burner for steaming
Step 1: Prepare Your Fabric
Before you begin, make sure your fabric is properly prepared.
For silk, use fabric that is prepared for dyeing (PFD) or otherwise free of finishes that could interfere with dye uptake.
If your fabric requires mordanting, complete that process before bundle dyeing.
One of the wonderful shortcuts for beginners is using a pre-mordanted silk blank, such as a silk pillowcase or scarf that has already been treated with the appropriate mordant.
This allows you to concentrate on the creative part of the process: the plants.
Step 2: Gather Your Botanicals
This is where the process becomes intuitive.
Gather a collection of flowers, petals, leaves, and other botanical material.
You can work with a single flower or create a mixture.
Try arranging colors together that you would naturally put into a garden:
rose + cosmos + marigold
or
eucalyptus + rose + purple flowers
You can also experiment with unexpected combinations.
The plants will not necessarily produce the same color you see in their fresh state. Natural dyeing is full of transformations.
Step 3: Lay Out Your Fabric
Place your dampened silk on a clean work surface.
Smooth it flat— drape one half lengthwise over the side of the table— you will fold this over your compostion after decorating.
Begin scattering your flowers and leaves across the surface. You can arrange them deliberately or simply sprinkle them over the fabric.
For a more painterly result, allow the botanicals to fall randomly.
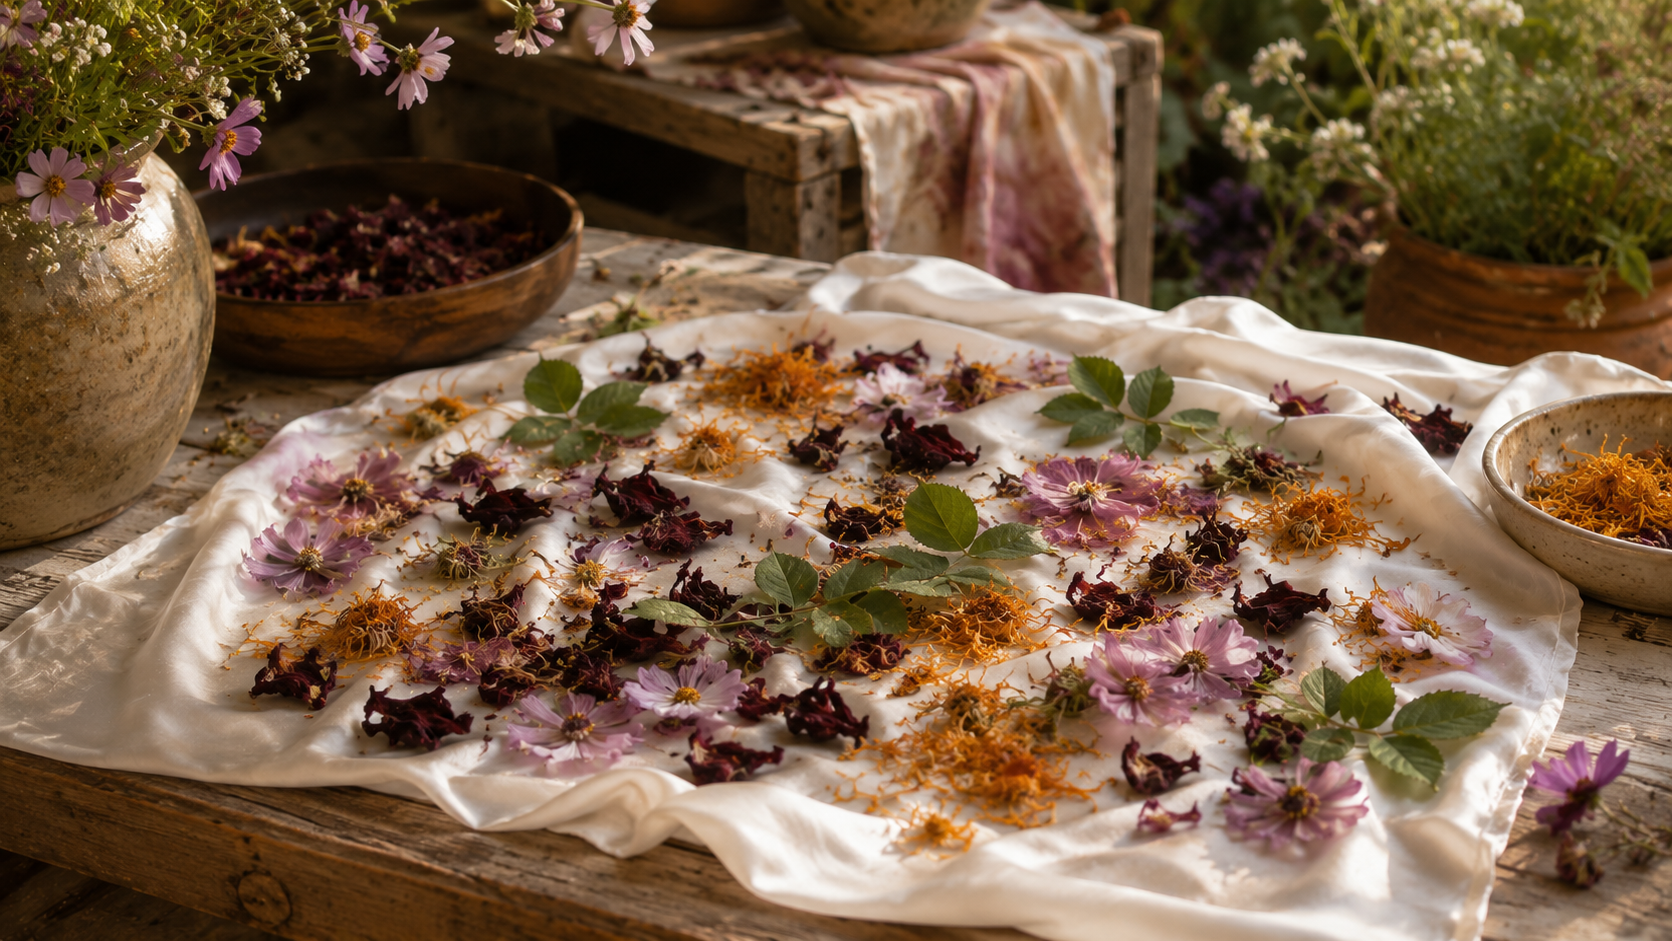
White silk sprinkled with dried flowers, cosmos, rose leaves, hibiscus, and marigold petals ready for bundle dyeing.
A little secret:
Don't overcrowd the fabric. Leaving areas of negative space allows the individual colors and botanical marks to breathe.
Step 4: Fold the Fabric
Once your botanicals are arranged, fold the draped fabric over itself.
You want the plant material to be sandwiched securely between the two layers of fabric.
For a long scarf, you might fold it lengthwise.
For a pillowcase or smaller textile, you can fold it in sections.
Press gently with your hands as you fold, allowing the flowers and petals to make good contact with the silk.
Step 5: Roll Your Bundle
Starting at one end, roll the fabric tightly around a dowel or stick.
The tighter the bundle, the more intense the contact between the plant material and the fabric.
Once you've rolled the entire piece, tie it securely with bandage.
It should feel compact and firm.
Step 6: Steam
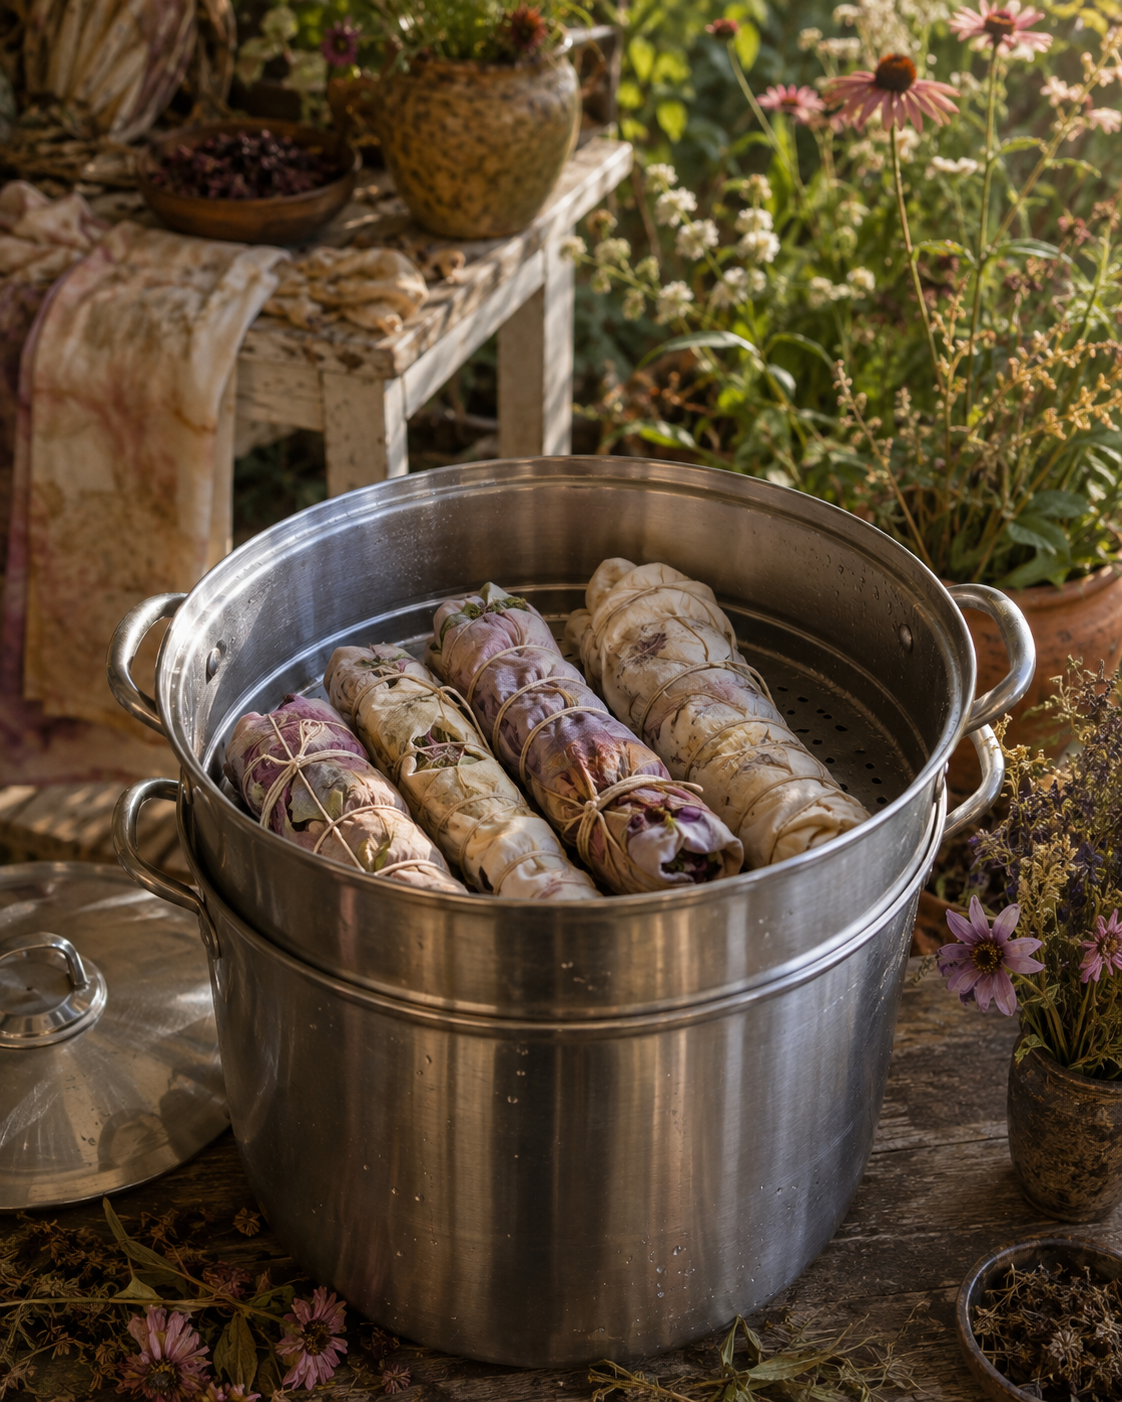
Place your bundles into a steamer over a heat source and cover pot with a lid.
Simmer gently, keeping the bundles above the water line, rather than submerged.
The exact timing will depend on the plants, fabric, and desired result, but about 25-60 minutes is a useful starting point for many bundle-dye projects.
Keep an eye on your water level so the steamer doesn't boil dry.
Step 7: Let It Rest
When the steaming is finished, resist the urge to immediately open the bundle.
Allow it to cool.
Step 8: Unwrap Your Botanical Bundle
This is the most exciting moment for many printers, where your hard work and artistic flare shine through. Notice how each plant printed before picking or shaking away the vegetation. Look beneath the plants to see if they printed true to color, true to form, any surprising marks? Write down any notes you may want to refer to in the future.
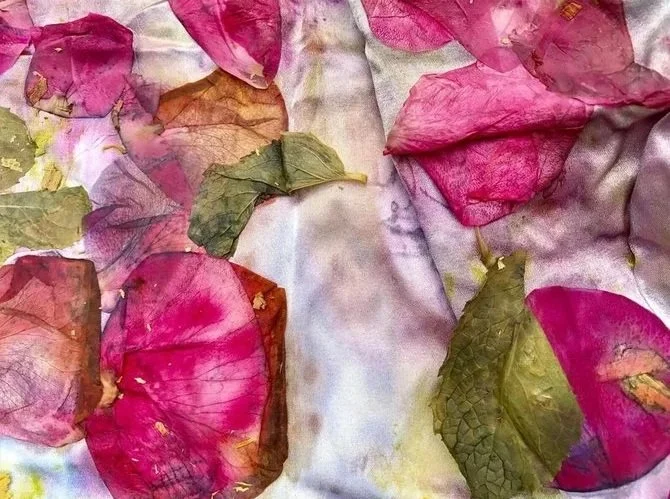
Fresh pink roses and rose leaves on silk charmeuse after steaming
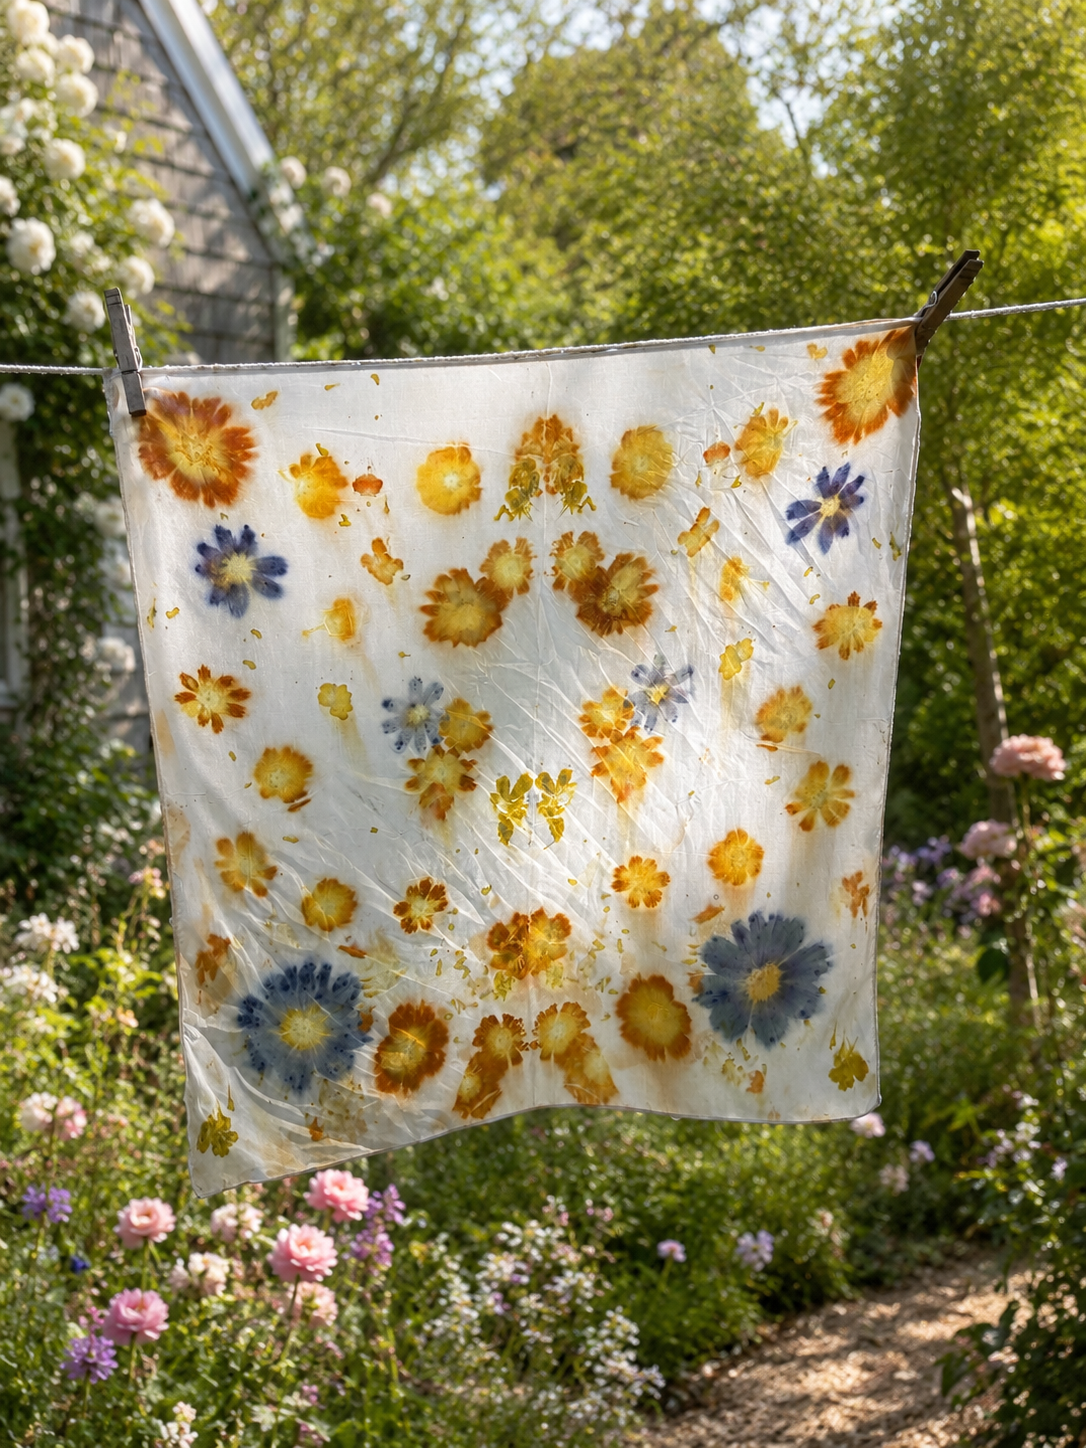
Silk habotai bandana mordanted with alum and printed with coreopsis, cosmos, marigolds.
Step 9: Rinse and Dry
Once you've finished the printing process, rinse the fabric gently with cool water— no soaps or harsh chemicals are needed. Allow the textile to dry naturally, preferably away from intense direct sunlight.
Once dry, your bundle-dyed silk can be gently pressed if desired.
Ready to take your botanical printing further?
Explore the Flora Obscura Atelier for deeper lessons in natural dyeing, botanical printing, and transforming plants from the garden into heirloom textiles.
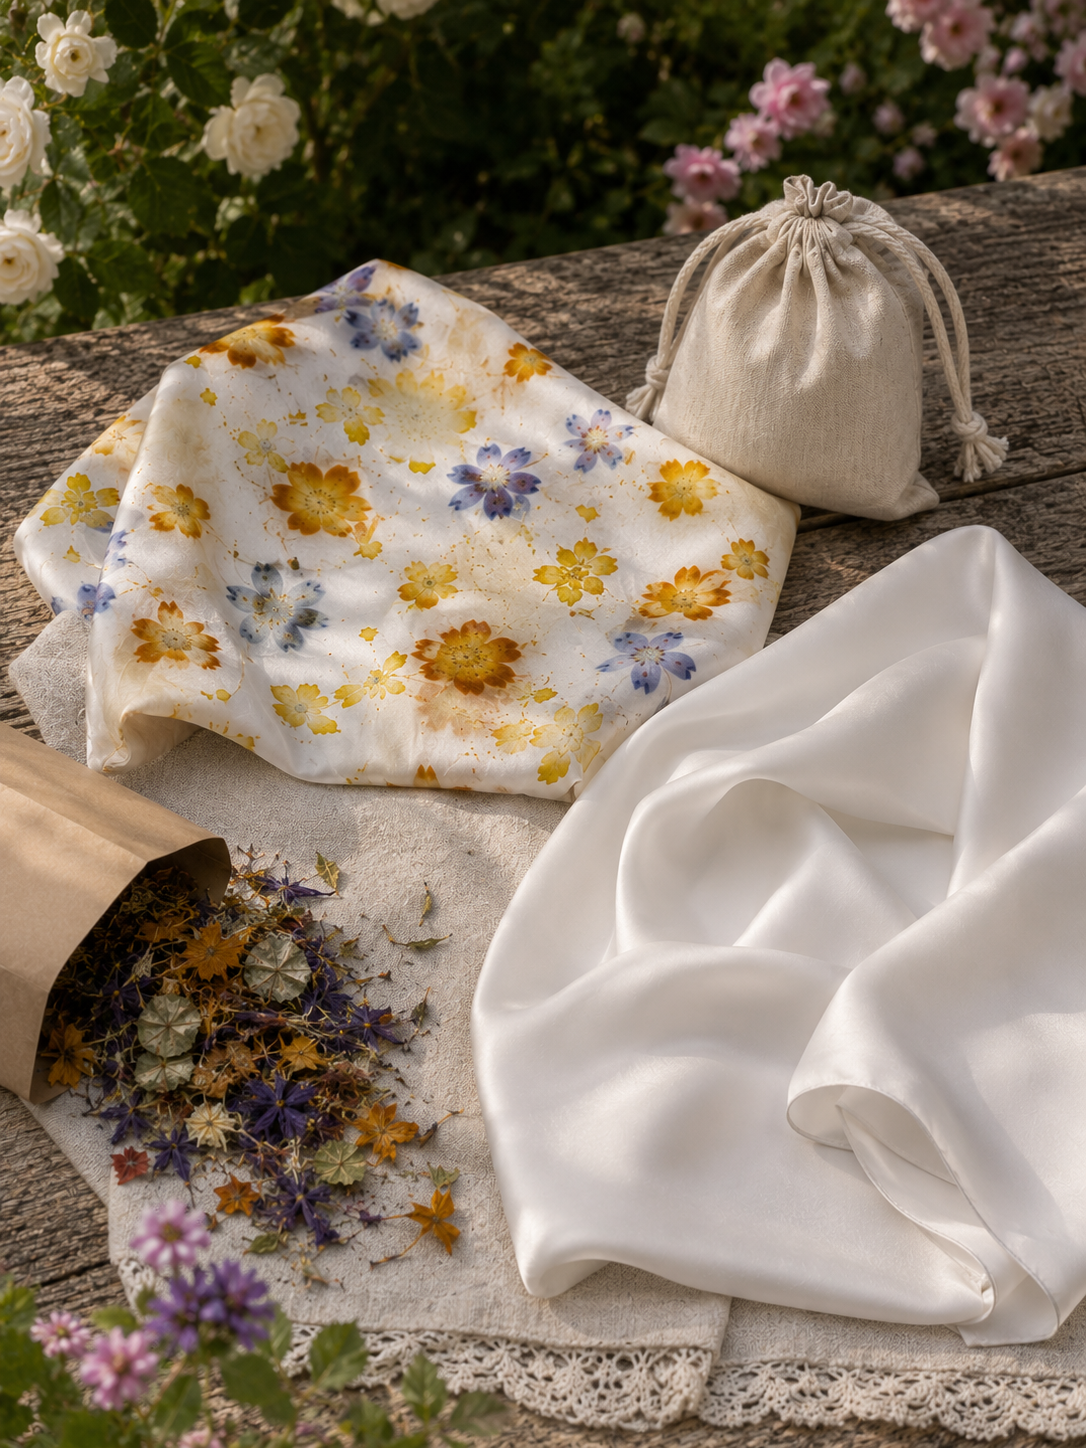
Bring the pages of Printing from the Garden to life with this thoughtfully curated silk bandana kit, designed to help you practice botanical printing with confidence and ease. Transform nature into wearable art with this pre-mordanted silk habotai bandana, thoughtfully prepared and ready for botanical printing. Each luxurious silk scarf has been professionally mordanted, eliminating the most time-consuming step so you can begin creating beautiful leaf and flower impressions immediately.
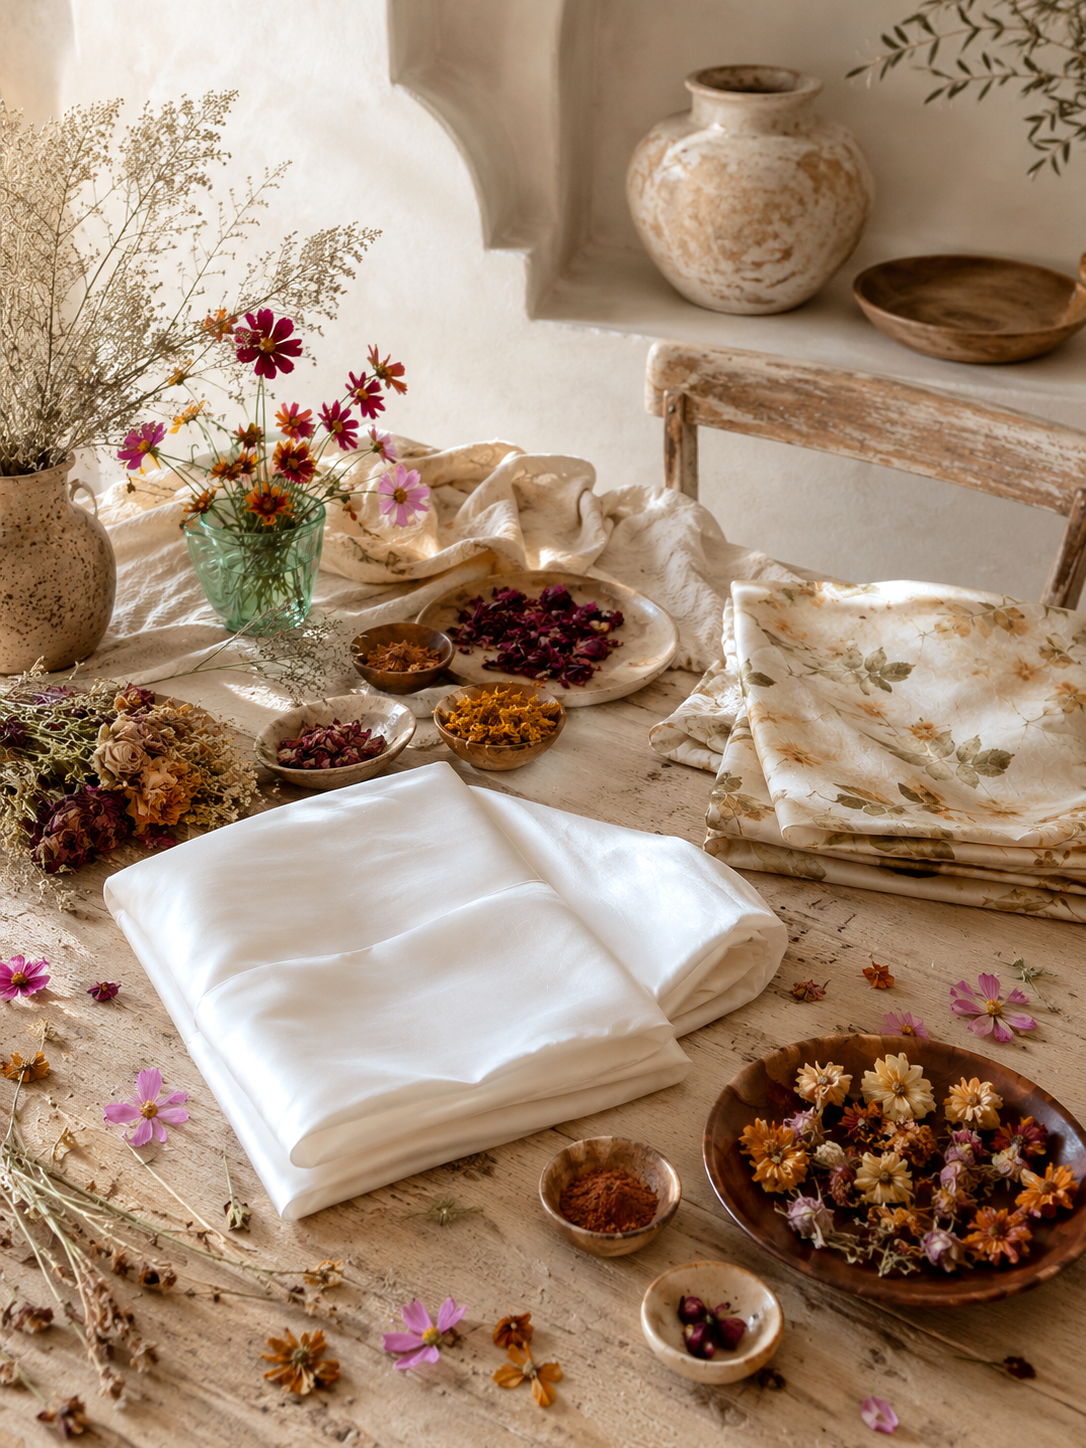
A beautiful blank canvas for your botanical practice. This luxurious 20 momme silk charmeuse pillowcase has been professionally pre-mordanted with my personal mordanting method, so it is ready for eco printing, botanical printing, bundle dyeing, and natural dyeing.
Skip the scouring and mordanting and go straight to the creative part: gathering flowers, leaves, and botanicals and transforming them into a one-of-a-kind silk textile.