
Botanical Contact Printing:
The Essential Foundations
Welcome to the Essential Foundations Atelier Archive—this course is designed as your introduction to the fundamentals of botanical contact printing, walking you through the essential steps needed to begin creating detailed, beautiful, and lasting botanical impressions on cloth.
We’ll begin with the foundation: preparing the cloth. At the heart of this process is my compound mordant recipe, a formula I’ve refined through years of experimentation. I’ll show you how I prepare fabric and explain why this step is so important to the final print.
Rather than thinking of mordant simply as something that “makes the dye stick,” I encourage you to think of it as part of the foundation of the textile. The preparation of your cloth can influence the clarity of the plant transfer, the depth and character of the color, the amount of detail retained, and how the print develops and ages over time.
From there, we’ll explore the essential elements that come together to create a successful botanical print:
plant + cloth + mordant + composition + moisture + pressure + heat
You’ll learn how to select and prepare fresh flowers and leaves, compose your botanicals on the cloth, create the conditions needed for transfer, and understand the role each stage plays in the finished impression.
One of the things I love most about botanical contact printing is its versatility. Properly prepared cloth can receive impressions from an extraordinary range of flowers and leaves, each revealing its own color, shape, texture, and character.
We’ll also look at how thoughtful plant selection and arrangement can transform a simple piece of fabric into something much more than a dyed textile—a record of the garden, captured in cloth.
By the end of this course, you’ll have a clear understanding of the complete process and the foundational techniques you need to begin experimenting with botanical contact printing on your own.
Whether you’re completely new to botanical printing or looking to strengthen your foundation, this is the place to begin.
Gather your cloth, your botanicals, and your curiosity—and let’s return to the garden.
Live Session: Mordant, Vegetation
& Botanical Bundling
In this recorded live session, we move through the essential stages of botanical contact printing—from preparing the cloth to creating and bundling a botanical composition.
We begin with a live demonstration of my compound mordant recipe, discussing why careful fabric preparation is such an important foundation for successful botanical printing and how the mordant influences color, clarity, detail, and permanence.
From there, we turn our attention to vegetation—the flowers, leaves, stems, and other plant materials that make each print unique. We’ll talk about choosing botanicals, what to look for in fresh and dried plant material, and how different plants can behave on cloth.
The heart of the session is a live botanical printing demonstration, where I walk through composing the plant material on silk, preparing the bundle, and wrapping and securing it for the printing process.
You’ll see the complete process in real time, including:
Making the compound mordant (scroll down to see the full written recipes)
Preparing the cloth
Selecting and discussing vegetation
Arranging botanicals for the print
Creating a botanical composition
Rolling and bundling the silk
Securing the bundle for steaming
Preparing the bundle for the final reveal
This session is a chance to see the process as it actually unfolds—along with the questions, observations, and small decisions that are part of working directly with plants.
Botanical printing is part technique and part conversation with the material. The more you observe how plants respond, the more intuitive the process becomes.
The Reveal
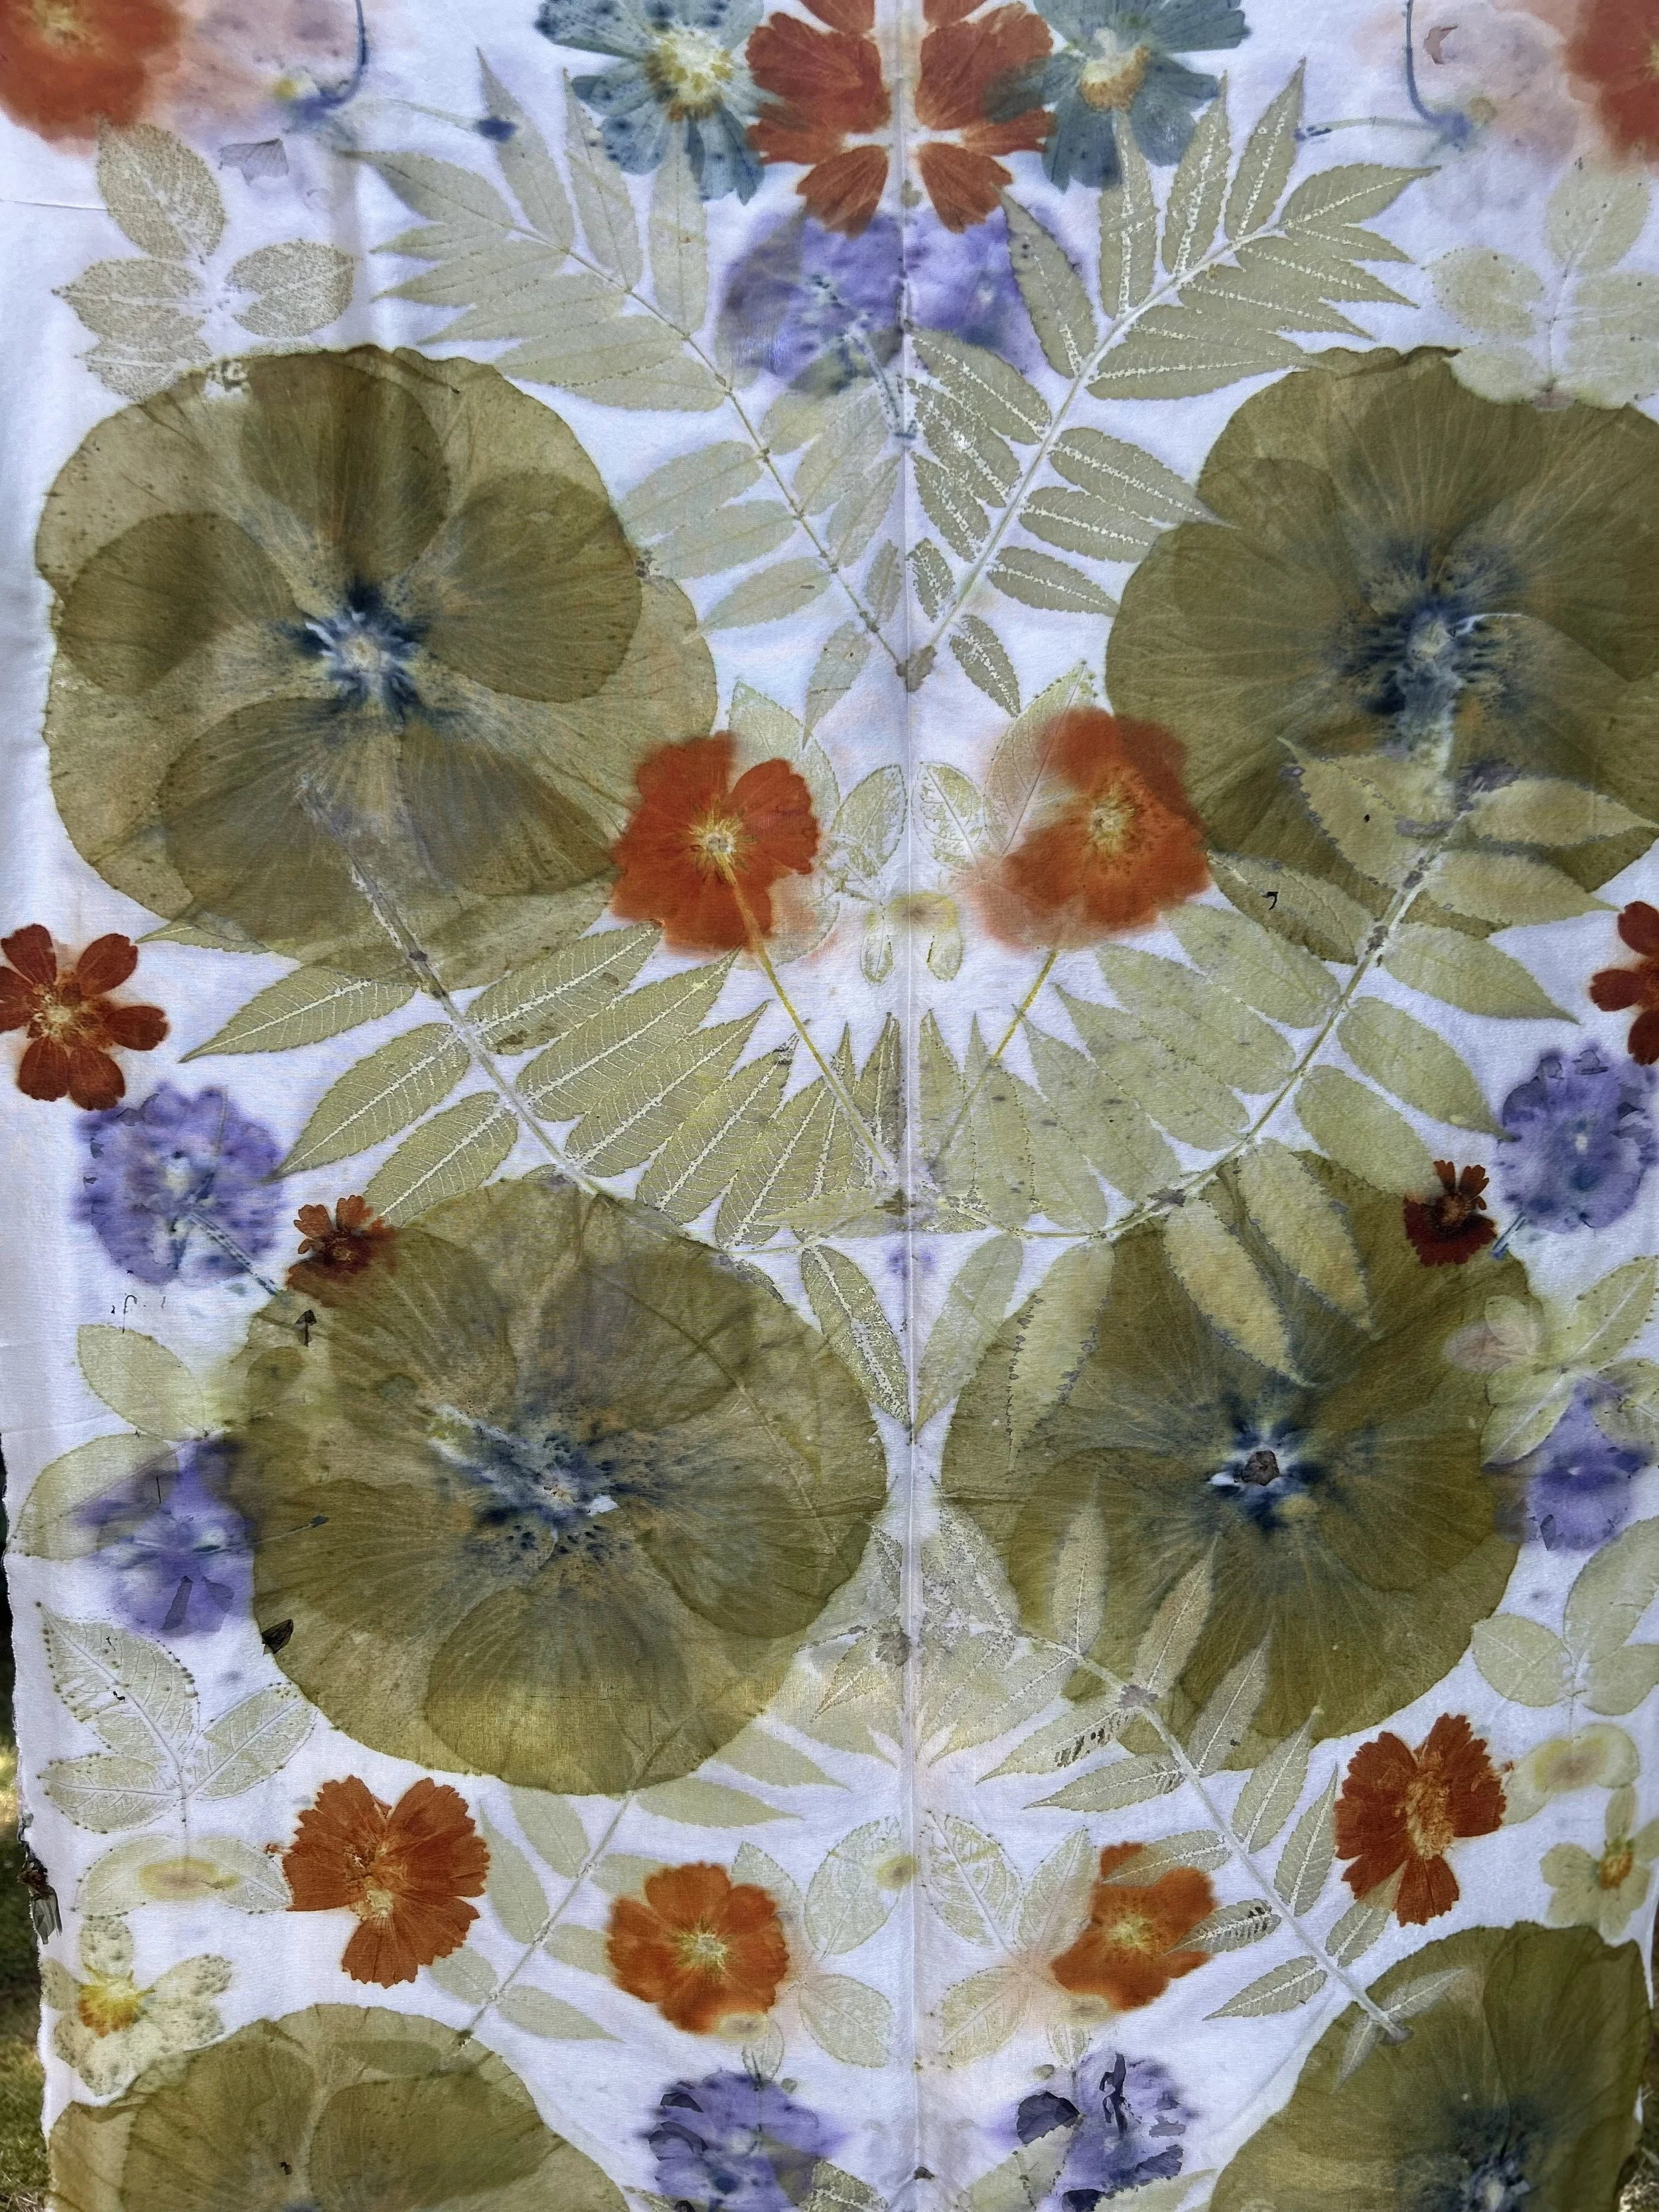
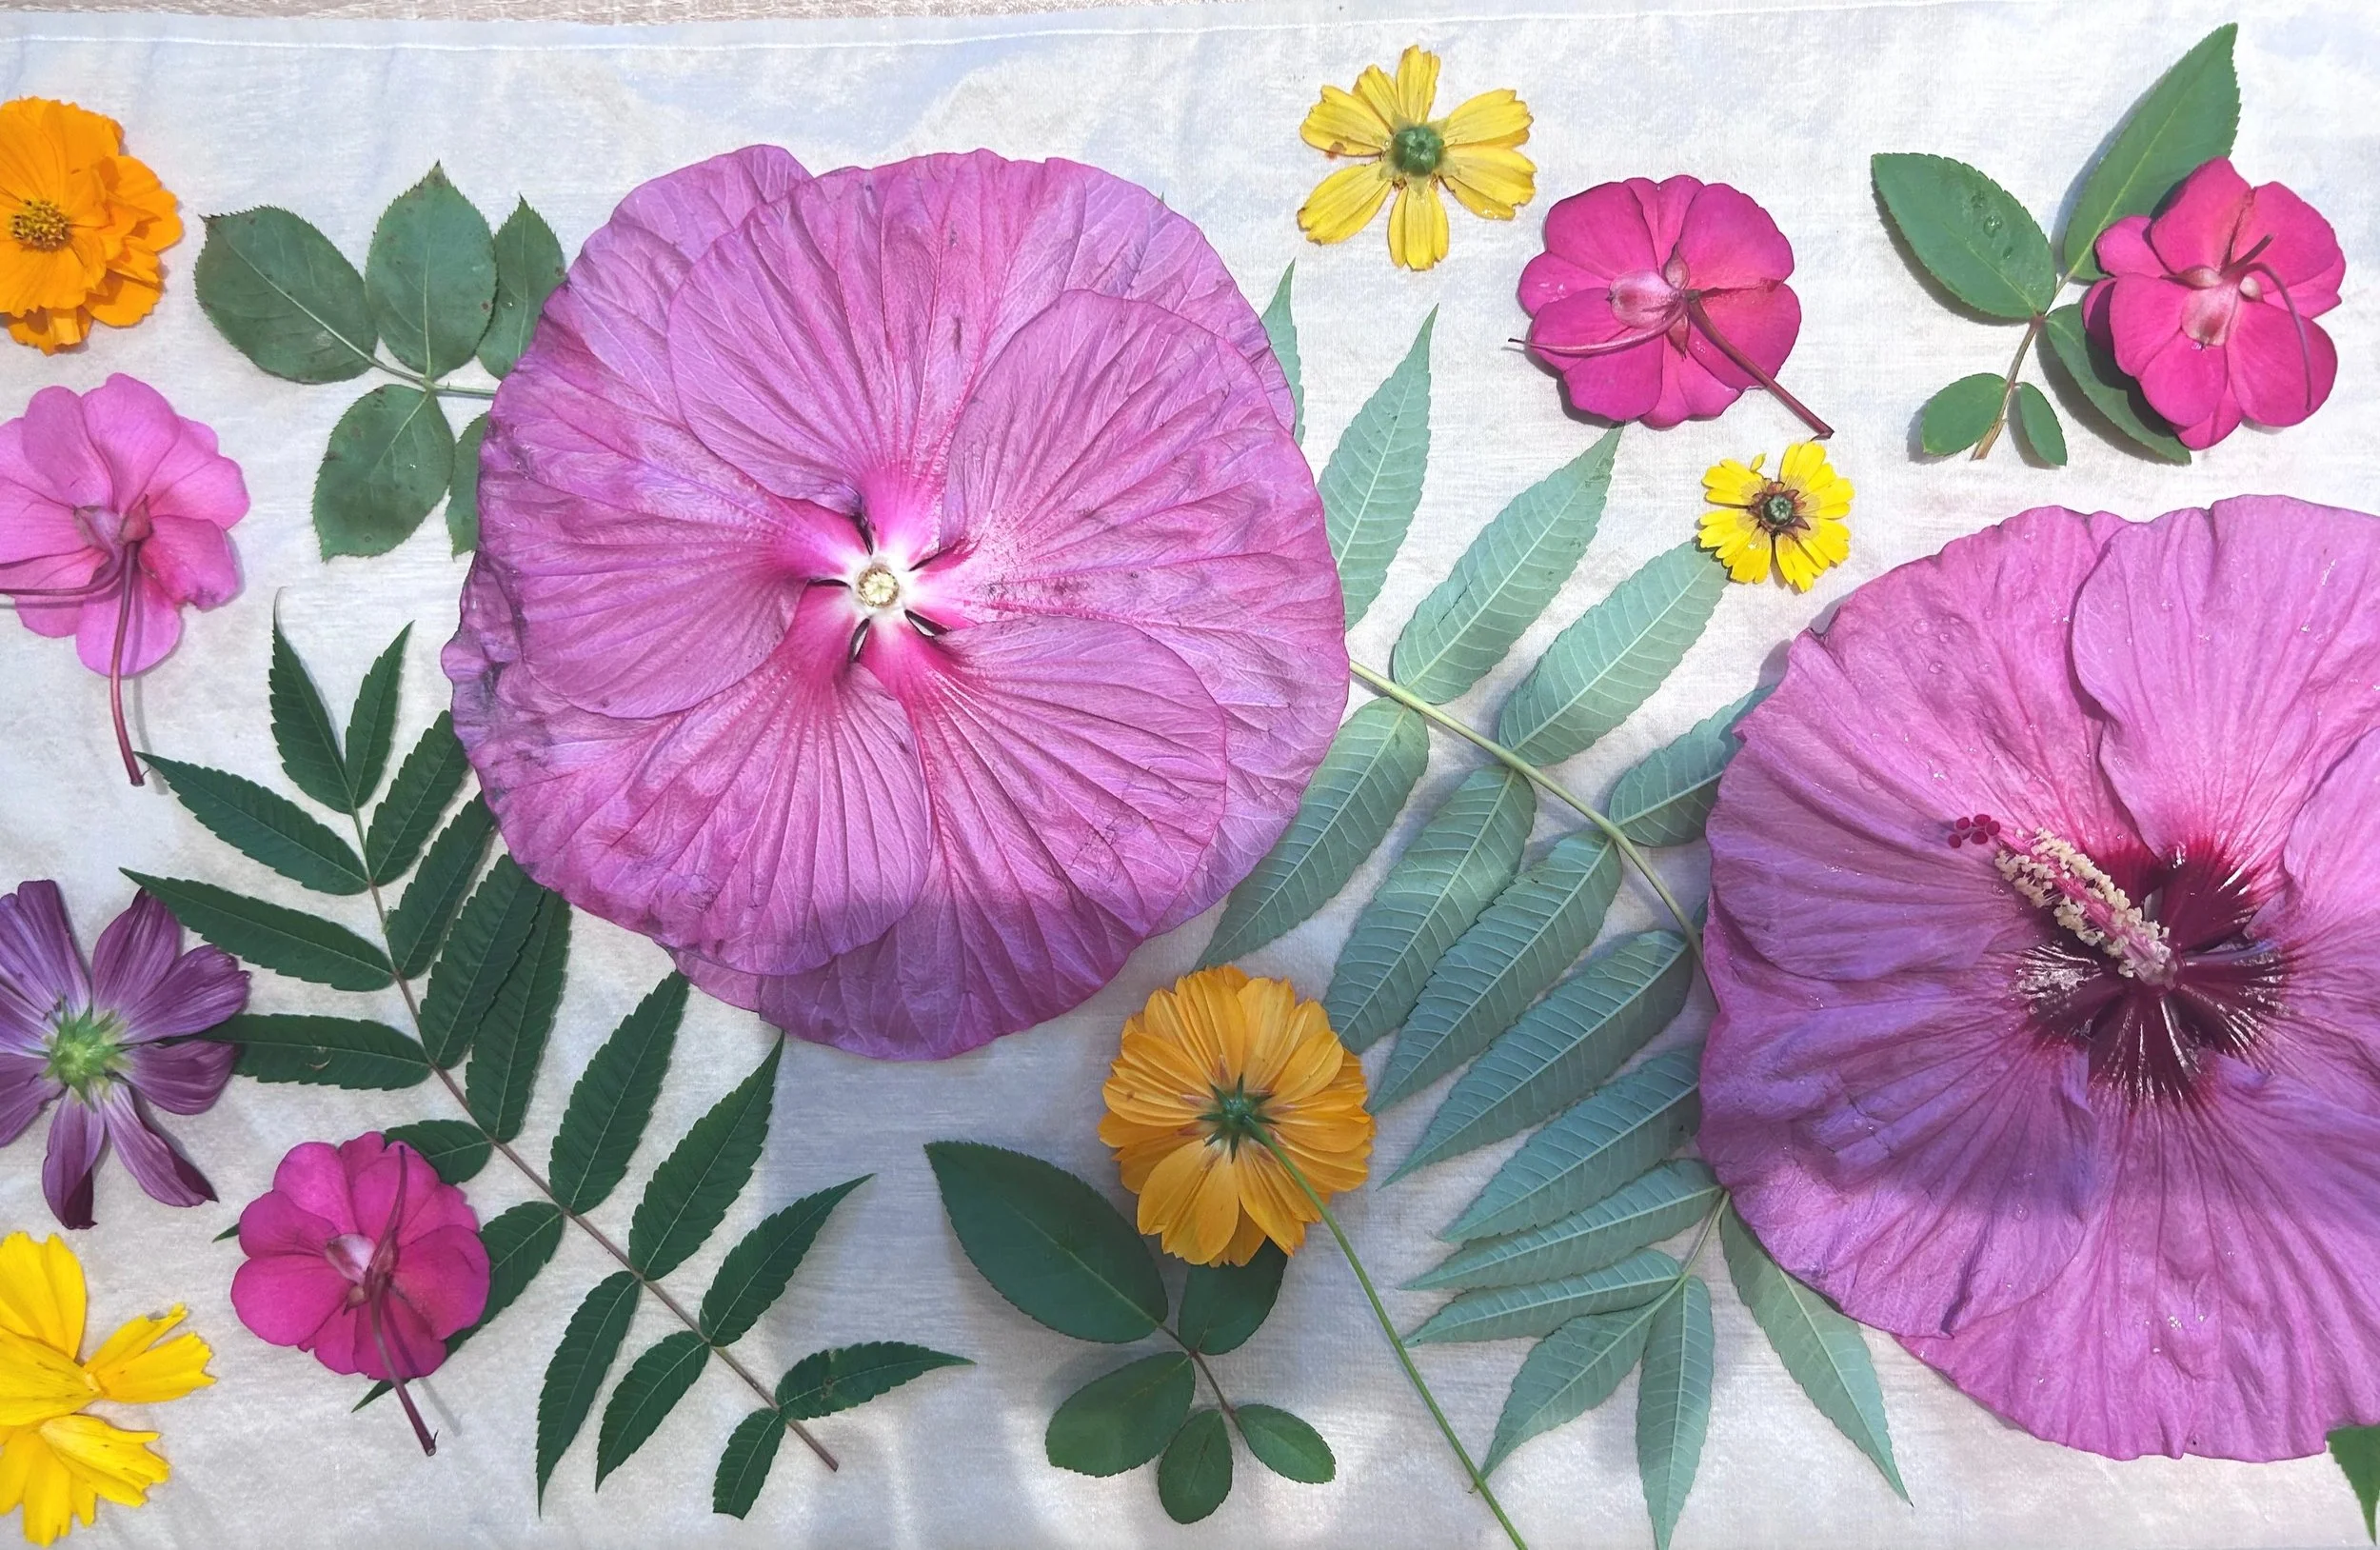
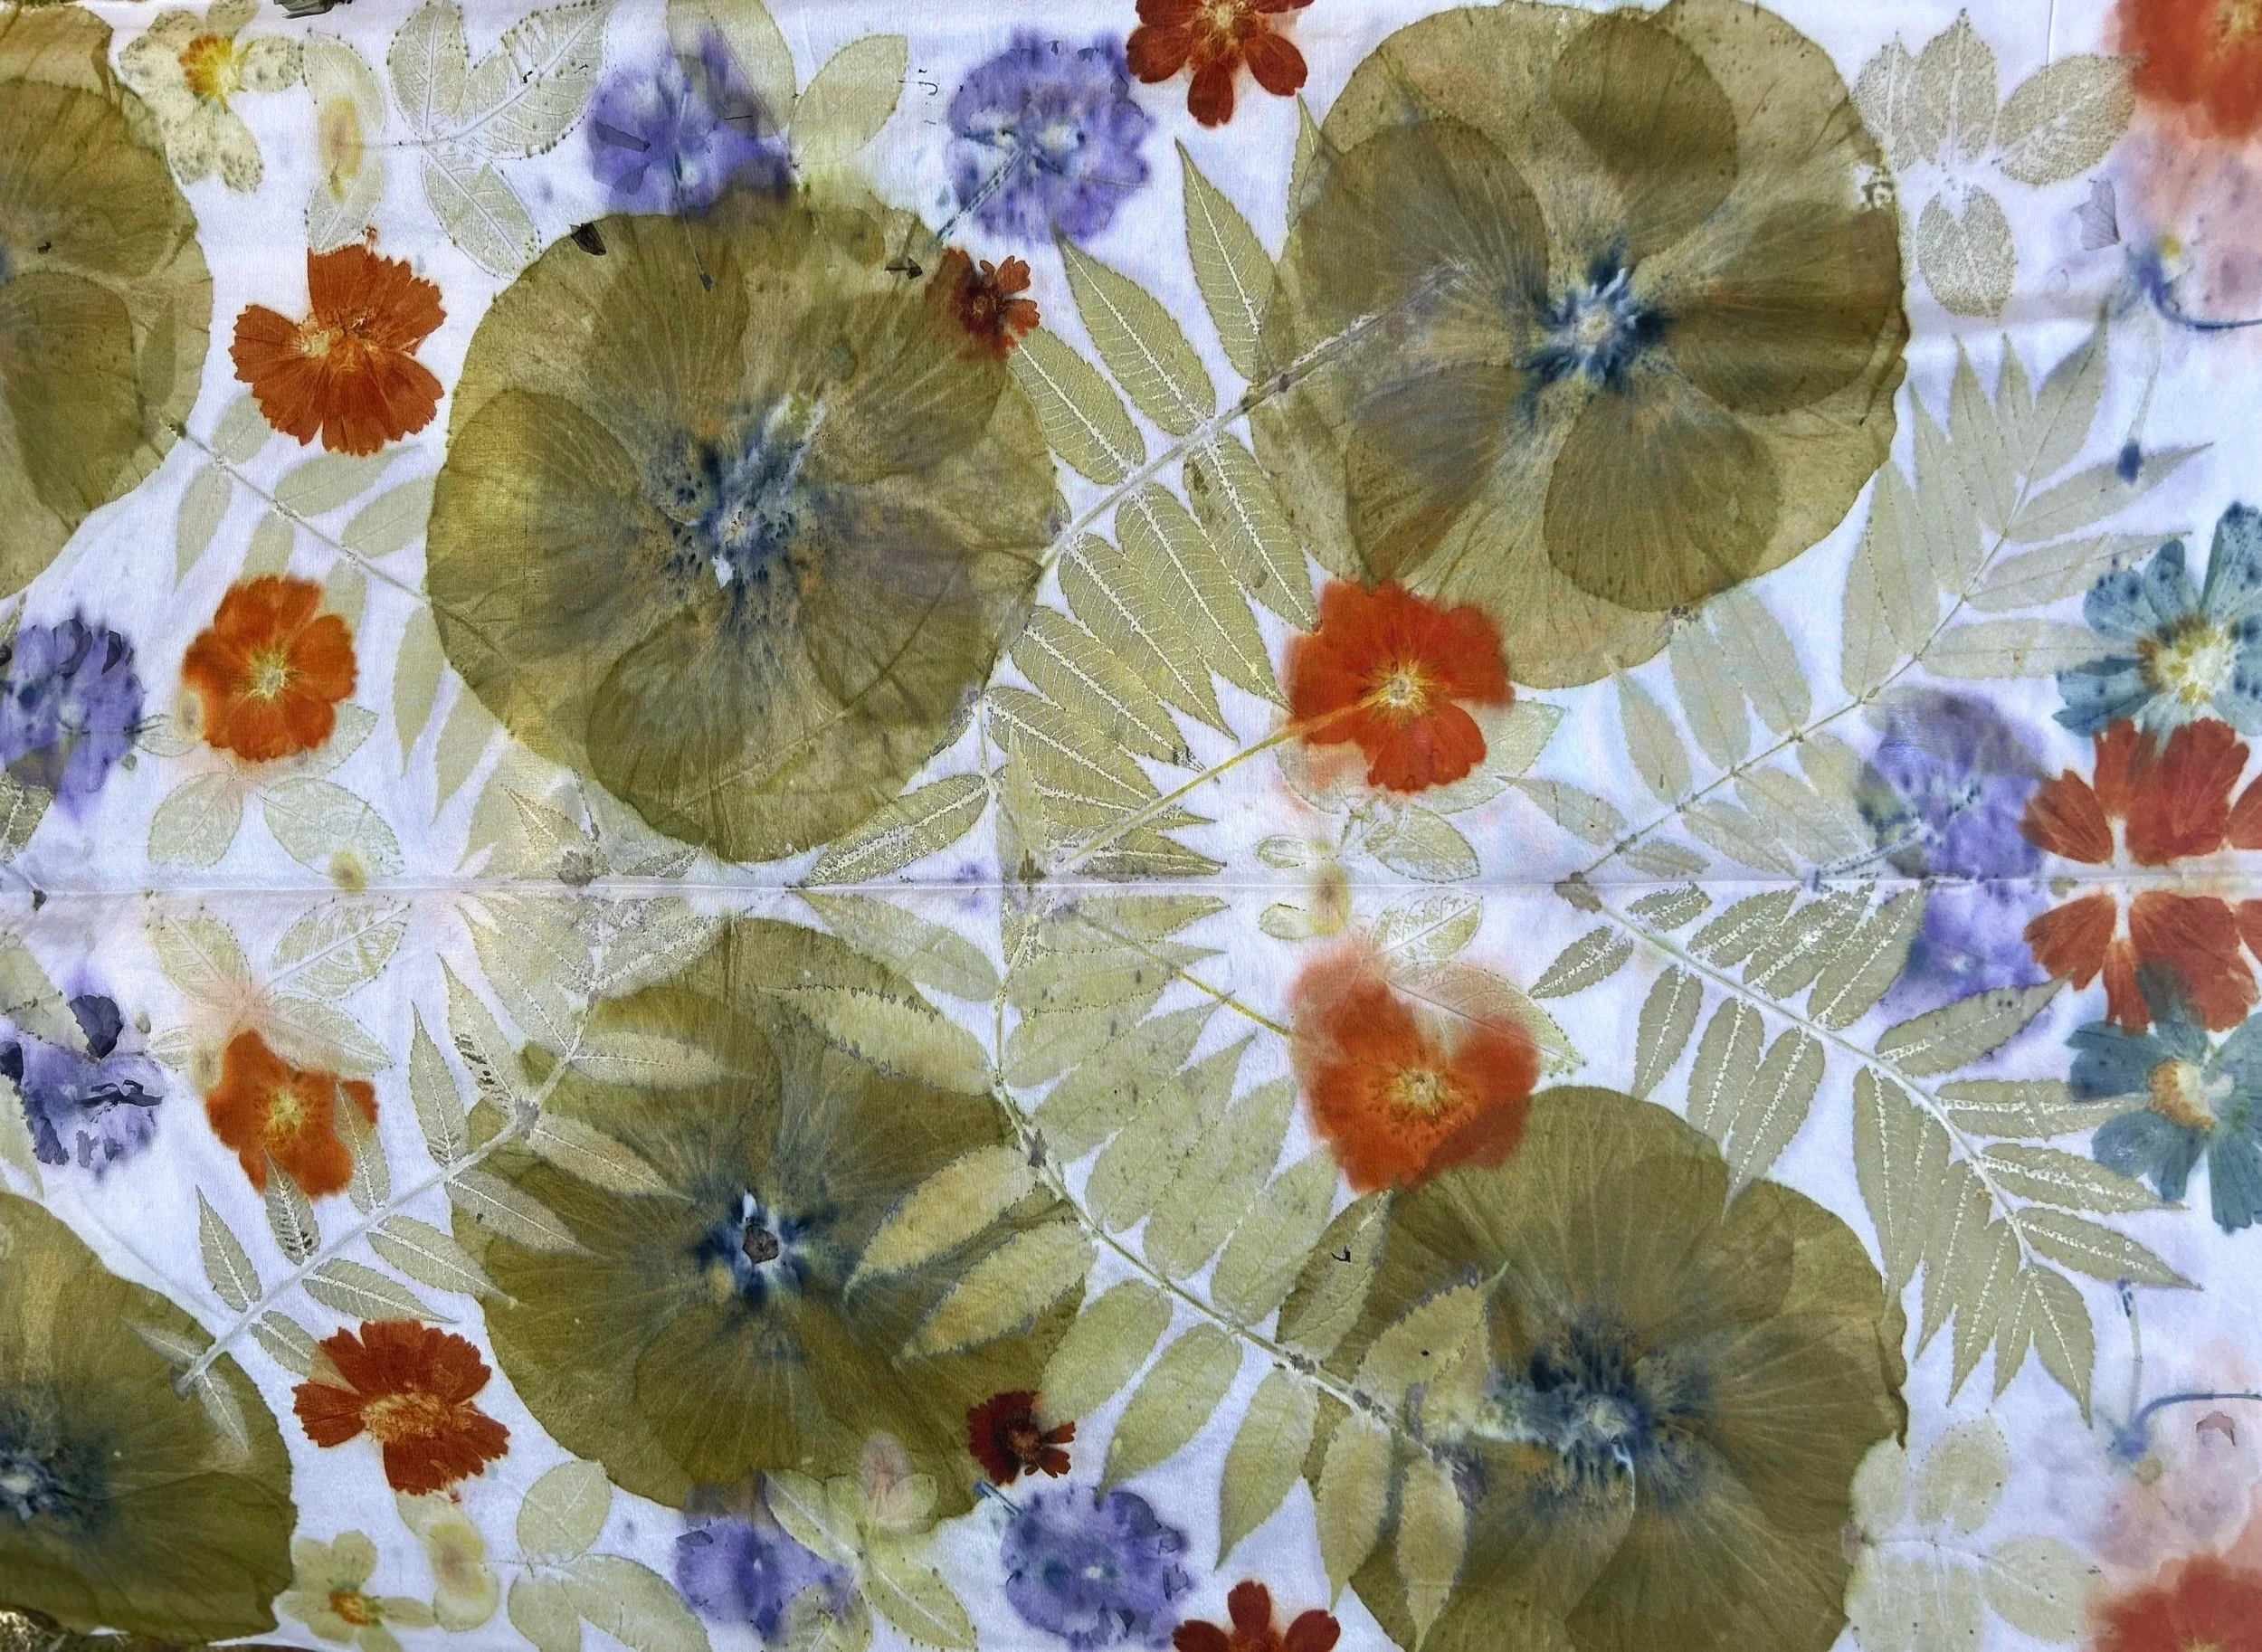
So many of us botanical printers consider the reveal to be the most magical part of the process. Study the video here which unveils the unrolling of the bundle. Notice how the colors from the sumac and rose leaves have imparted verdant greens, whereas the pink hibiscus and yellow coreopsis flowers have transferred quite different colors into the silk habotai. There have been quite a few color shifts due to the mordant reacting with the flavoniods and tannins in the vegetation.
Pink hibiscus printing green— yellow coreopsis, orange— pink impatiens go lavender.
GETTING STARTED
Step 1 — Choosing the Fiber
Let’s begin at the very foundation: the cloth itself.
Botanical printing comes alive on natural fibers—silk, linen, cotton, wool—materials that can truly receive and hold the imprint of the leaves. Synthetics, by contrast, tend to resist this process; the prints will be faint at best, or disappear altogether. For this work, nature recognizes nature.
For this atelier, you’re welcome to use a premade shawl, as I have (I’ve shared a few beautiful sourcing options below). There’s something deeply satisfying about working with a finished piece—ready to be transformed and worn.
You can also begin with a length of natural fabric and shape it into your own shawl or wrap. This opens the door to a more personal design from the very beginning.
However you approach it, the intention is the same: to create something you can wrap around your body—a piece that carries the imprint of leaves, of time, of your own hands. A textile to wear with pride, presence, and a quiet sense of wonder.
resources for blank
scarves & shawls
Dharma Trading— Lower price points and many options, including narrower scarves.
Blank silk/velvet shawl: For the sample project in the video, I use a lovely silk/velvet. You can get a premade silk velvet shawl here.
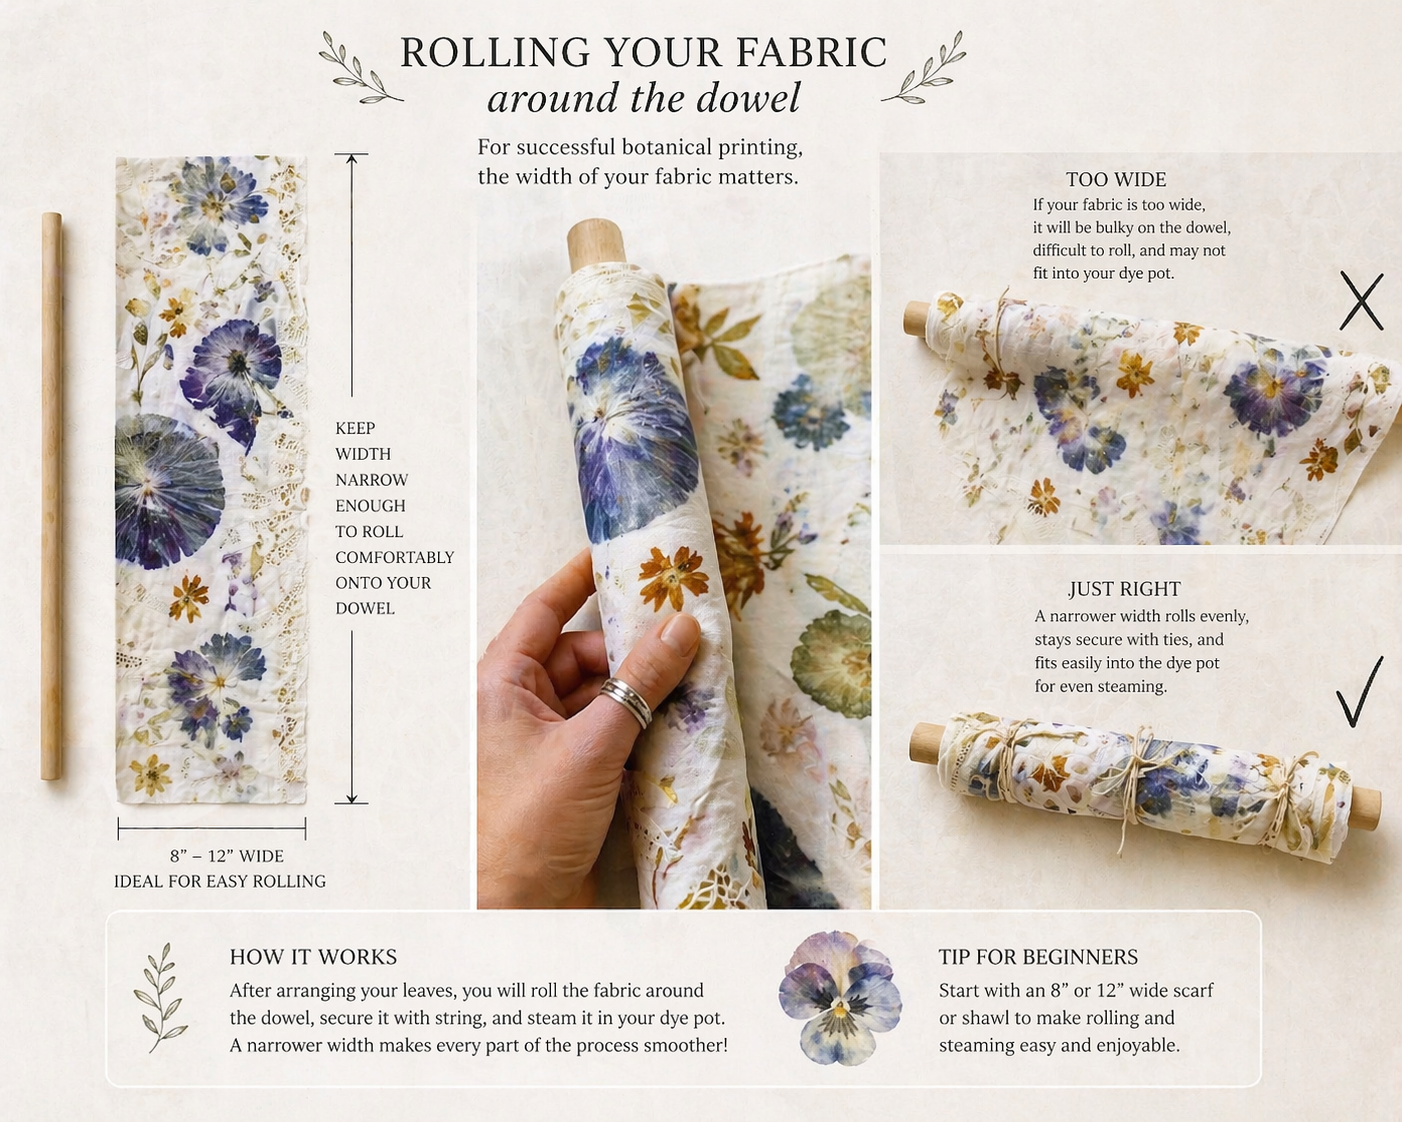
Silk charmeuse shawl: I recommend experimenting with a silk charmeuse scarf, the tight weave and luminous surface helps to create colorful and concise results— and the colors on silk never disappoint. Available in many widths, be sure to choose a width suitable to your dowel.
The Natural Dye Store— Many options for handwoven silks and cellulose fabrics and blanks.
Etsy— Many options, be sure to check where its shipping from to ensure a timely delivery.
Maiwa— Canada-based natural dye retailer full of resources and materials including luxury blanks.
Jacquard— Inexpensive Silk Habotai scarves
botanical printing FOUNDATIONS: PREPARING FABRIC FOR PRINTING
ALWAYS WEIGH YOUR FABRIC DRY PRIOR TO BEGINNING THE PREPARATION PROCESS:
Weight of Fiber (WOF) is the dry weight of the fabric or fiber being dyed. In natural dyeing, dye materials and mordants are often measured as a percentage of the WOF to ensure consistent and repeatable results.
For example, if you have 100g of silk and a recipe calls for 15% WOF alum, you would use 15g of alum.
Wetting Out The Fiber
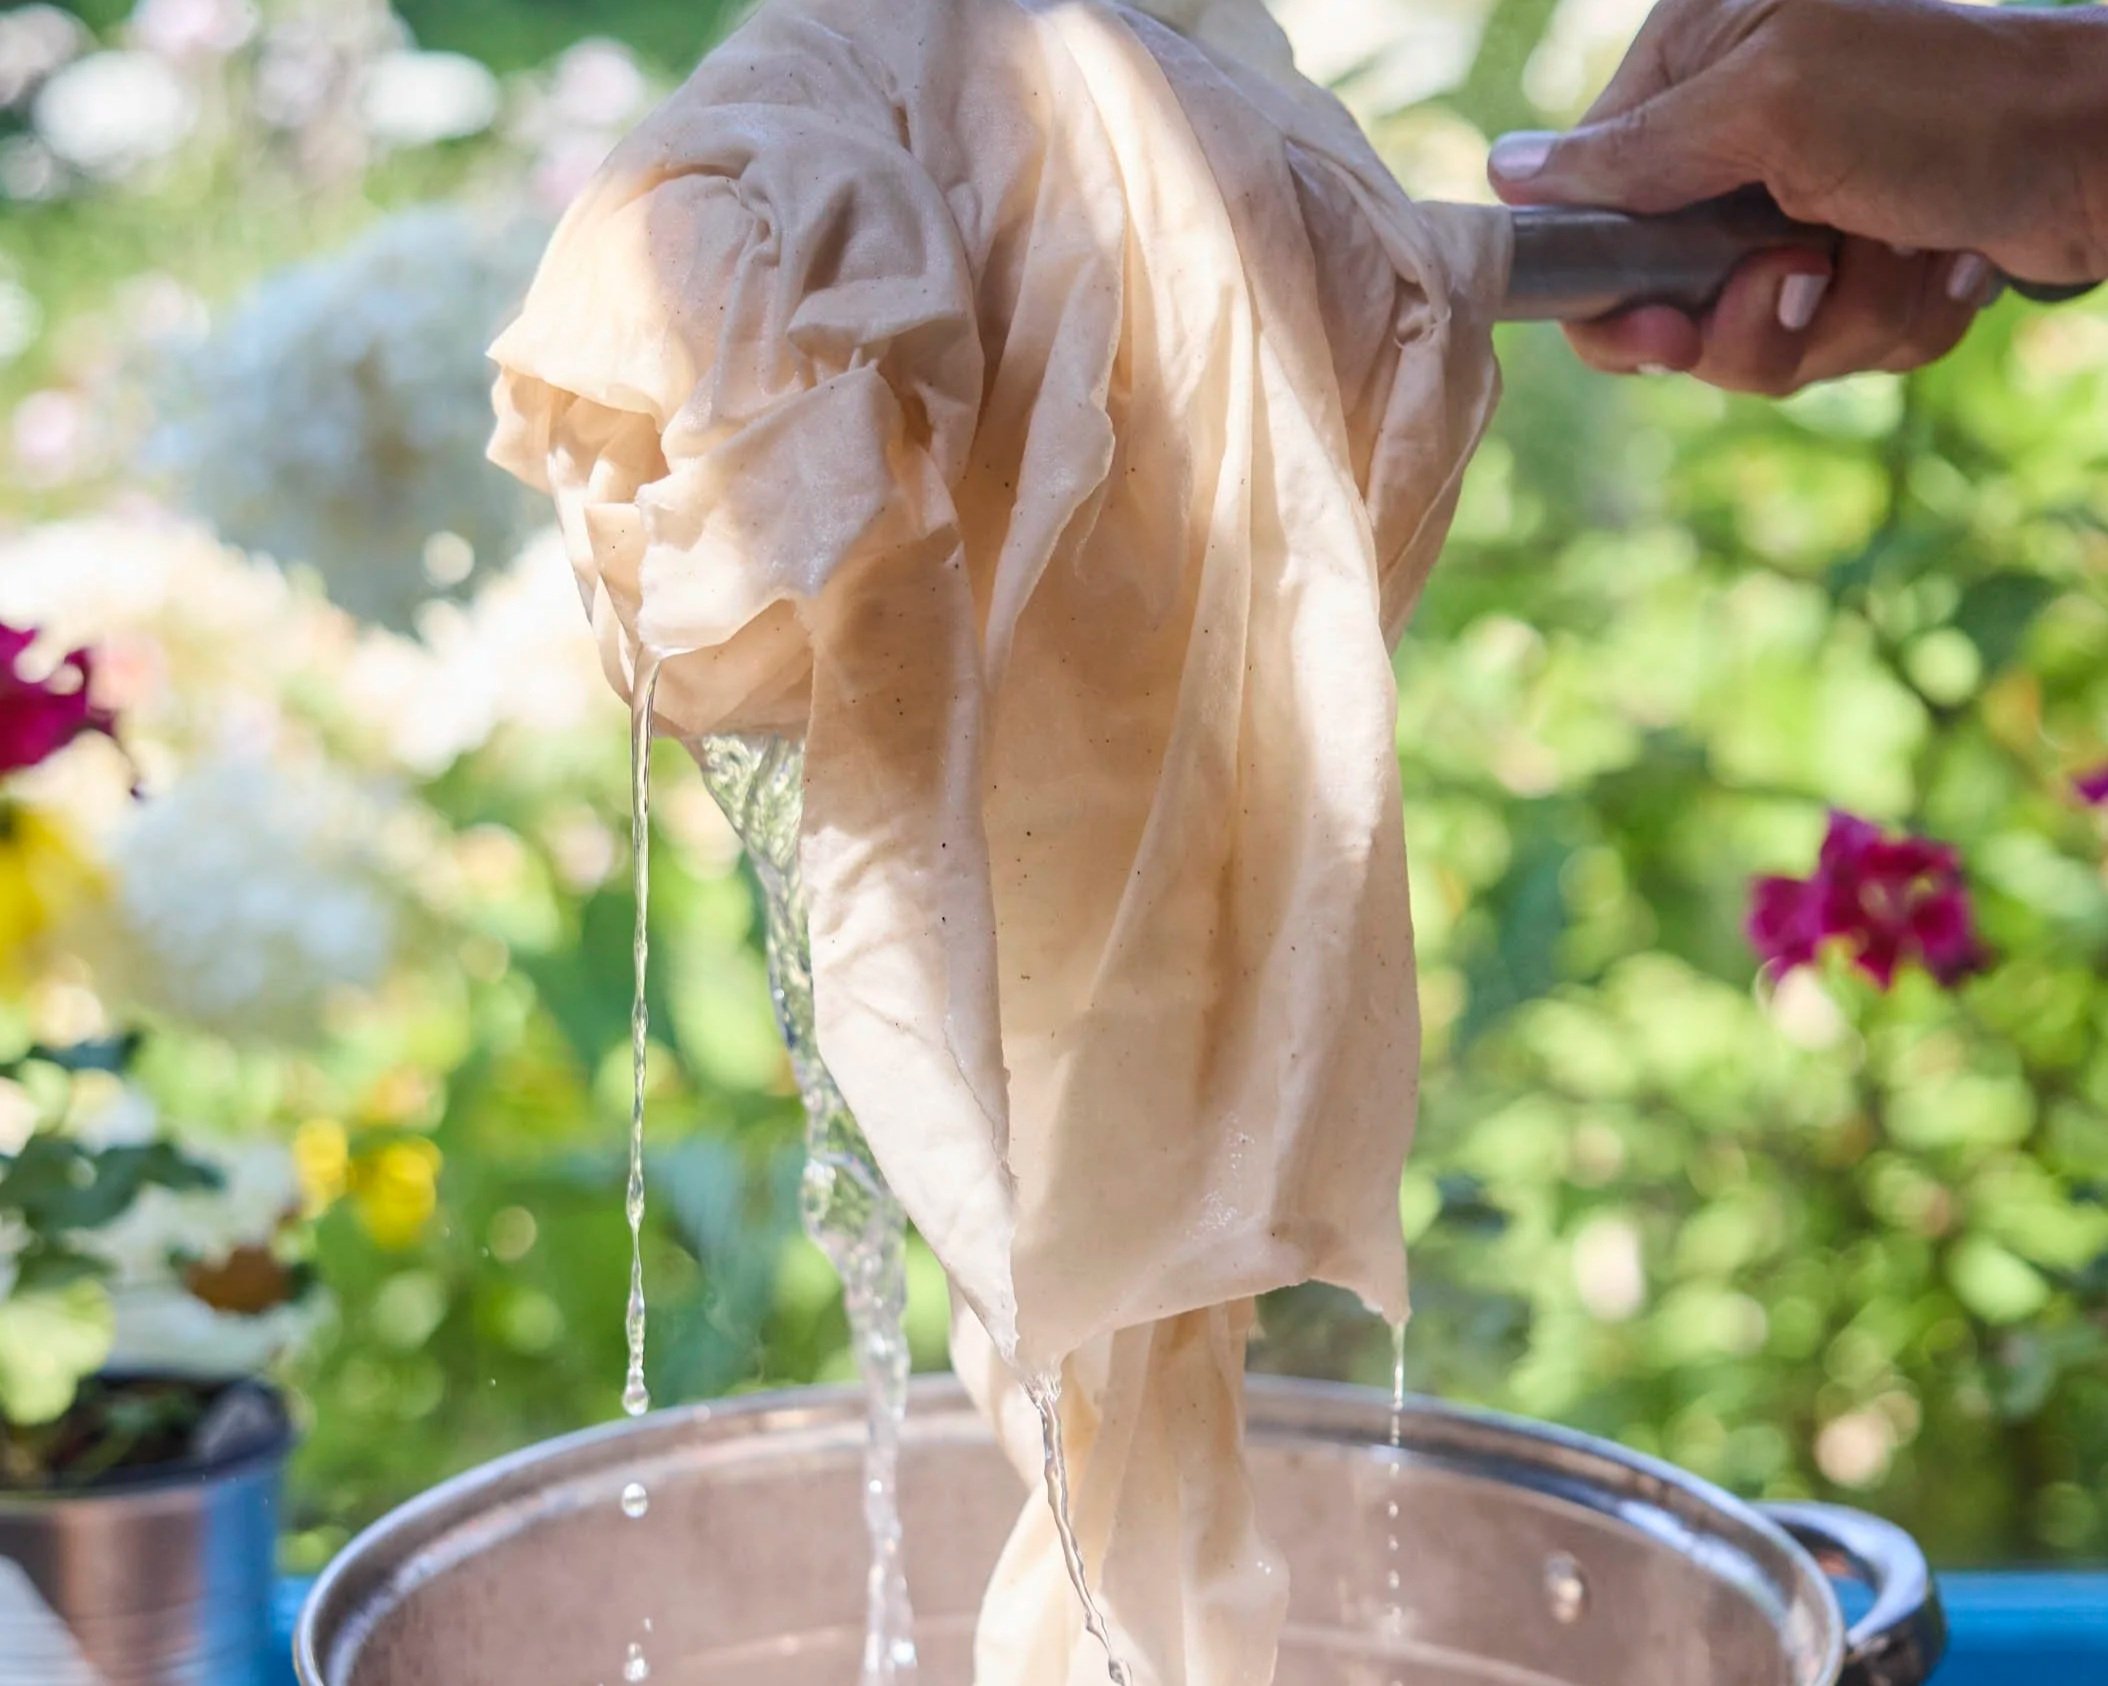
Fill a basin or pot with warm water.
Add a squirt of plant-based soap and stir.
Submerge the fiber and gently agitate to ensure it is fully saturated.
Soak for 30-60 minutes.
Rinse thoroughly in clean water.
The silk is now evenly wetted, and ready for scouring.
A Note on Scouring Silk and Wool
Many silk fabrics are sold as PFD (Prepared for Dyeing), meaning they have already been thoroughly cleaned and processed to accept dye. If your silk is labeled PFD, additional scouring is often unnecessary.
In fact, I frequently skip scouring silk altogether, especially when working with high-quality silk yardage or scarves intended for botanical printing and natural dyeing. Excessive washing can gradually diminish the fiber's natural luster and softness, so I prefer to handle silk as gently as possible.
The same philosophy applies to silk/wool blends— I personally do not dye wool yarn. A light scour may be beneficial for particularly dirty or heavily processed wool, though repeated scouring can strip away some of the fiber's natural character.
What You'll Need TO SCOUR:
Silk or wool fabric or yarn
A non-pH-neutral detergent formulated for delicate fibers, such as Synthrapol, olive oil soap or a mild textile soap
Large non-reactive pot or basin
Warm water
Spoon or tongs for gentle stirring
Scouring Silk
Fill a non-reactive pot or basin with warm water (approximately 100–120°F / 38–49°C).
Add a small amount of mild detergent and stir to dissolve.
Submerge the silk and gently move it through the water.
Allow it to soak for 30–60 minutes.
Avoid vigorous stirring, wringing, or sudden temperature changes, which can damage delicate silk fibers.
Rinse thoroughly in water of a similar temperature until the water runs clear.
Gently squeeze out excess water and allow to air dry or proceed directly to mordanting.
Scouring Cotton
Fill a non-reactive pot with enough water for the fabric to move freely.
Add Liquid Scour, Orvus paste soap, Synthrapol or Neutral Detergent at 5.5% WOF (approximately 5.5g or 1 tsp per 100g fabric).
Add Soda Ash (Sodium Carbonate) at 1–2% WOF (approximately 1–2g or ¼–½ tsp per 100g fabric).
Add the pre-wetted cotton and stir well.
Heat to a gentle simmer (180–200°F / 82–93°C) and maintain for 60 minutes, stirring occasionally.
Allow to cool, then rinse thoroughly until the water runs clear.
The cotton is now clean and ready for mordanting or dyeing.
Reading the Garden
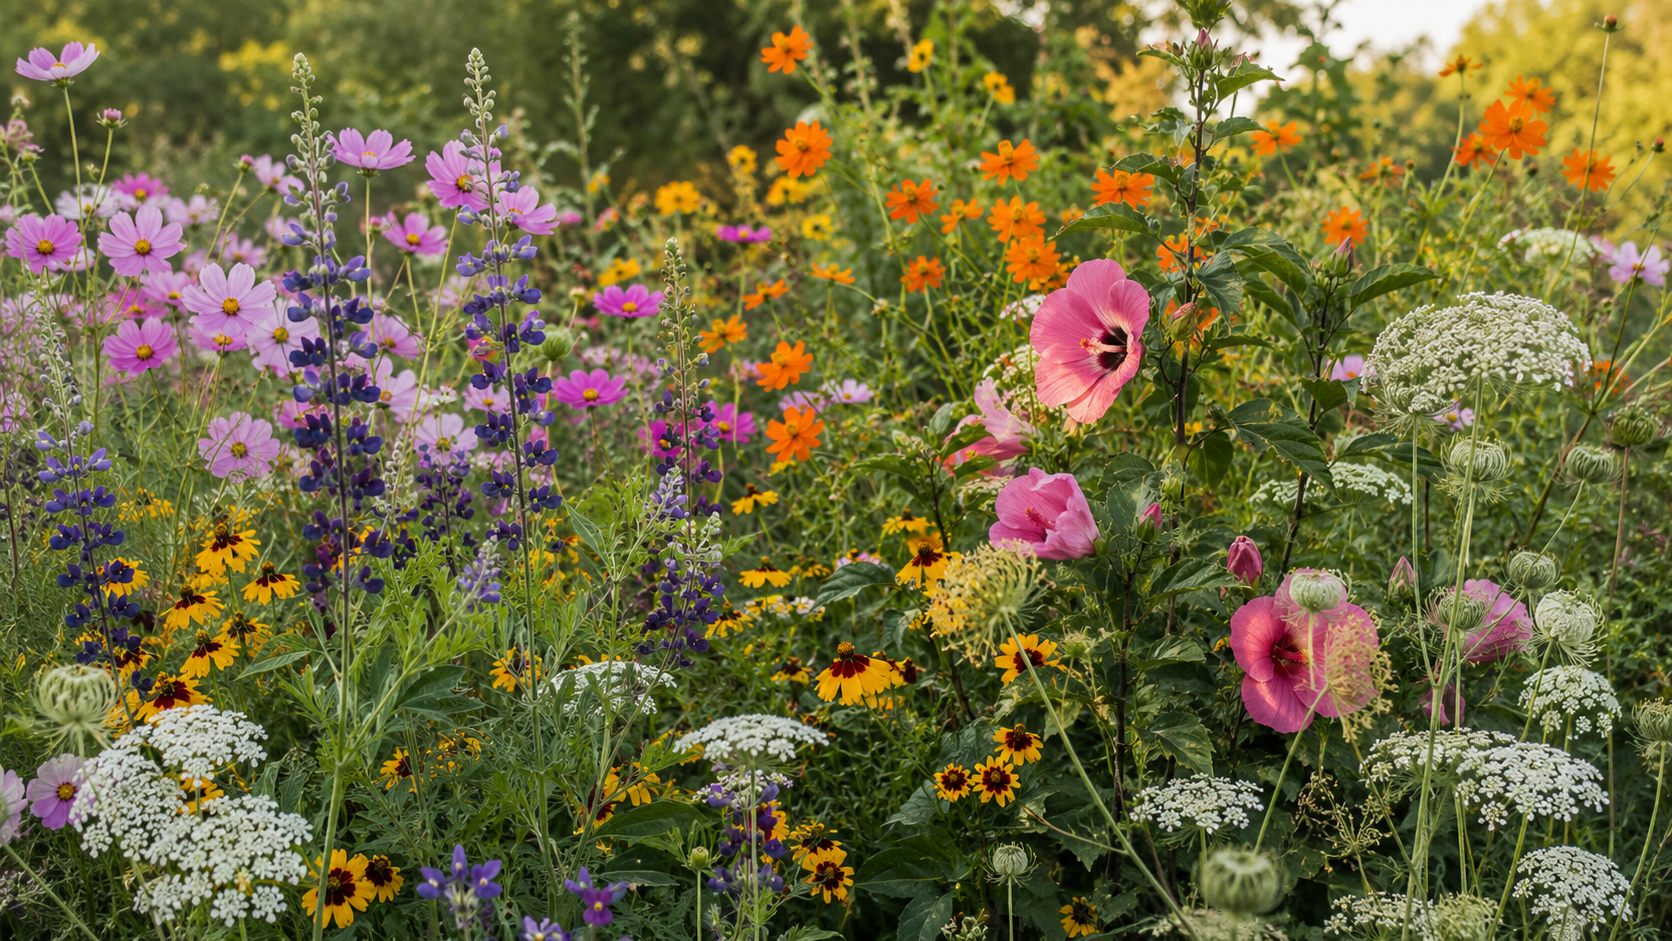
Botanical printing begins long before the flowers touch the fabric. When you walk through your garden—or gather plants along a favorite path—begin to look at them differently.
Ask yourself:
What is interesting about this plant as a textile image?
A flower may be beautiful in the garden but produce a very faint impression. Another plant that seems visually unremarkable may create an extraordinary print.
Look closely at the structure of the leaf.
Are the veins pronounced? Is the shape distinctive? Is there a beautiful repetition or symmetry? Look it up— is it poisonous or toxic? Do not steam any known toxic plants indoors.
Look at the flower. Are the petals thin or thick? Flat or layered? Is the center interesting? Does the flower have a strong silhouette?
Consider moisture as well. Some fresh botanicals contain considerable moisture and can behave very differently from a dry or leathery leaf.
And then consider scale. A tiny flower repeated across a textile can create rhythm and movement. A large bloom like the hibiscus I’ve used can become the central visual element of an entire piece.
There is no single formula for choosing plants. Part of the practice is learning to observe and experiment.
Composition Before Printing
One of the most important things to remember is that you are not simply making individual flower prints. You are creating a composition. Before placing your botanicals on the cloth, consider the overall design.
Where will the eye travel? Where do you want areas of visual quiet? Where might you create repetition? Where should a larger botanical become a focal point? And where can you allow the cloth itself to remain visible?
Negative space is just as important as the botanical impressions. Think about rhythm, repetition, scale, balance, and movement. You can approach the fabric almost as you would a painting.
Preparing the Textile
Once your composition has been considered, prepare your cloth according to the mordanting process demonstrated in the video.
The fabric should be evenly prepared so that the botanicals have a consistent surface on which to transfer.
When arranging your plants, work thoughtfully but don't become afraid of imperfection.
Botanical printing is a collaboration with the plant.
The final image is influenced by:
the plant itself
the surface of the cloth
the mordant
moisture
pressure
heat
timing
and the way the botanical is positioned
You can control many of these elements, but never all of them. That unpredictability is part of what makes the process so beautiful.
Bundling the Print
Once your botanicals are arranged, the textile is folded, rolled, and secured into a bundle.
The goal is to create close contact between plant and cloth.
Think carefully about pressure. Too little contact can result in incomplete impressions.
As you work, consider what you want the plant to communicate.
Heat, Time &
Transformation
Inside the bundle, a transformation is taking place. Heat and moisture encourage the botanical material to release compounds that interact with the prepared cloth. Simmer above the water line on a catch tray. Use a timer YOU CAN’T IGNORE. Check water levels to ensure it is not dry.
Steaming times: Flowers— 20-30 minutes;
with leaves— 45 minutes;
eucalyptus leaves: 90 minutes.
STEAMING
PROCESSING THE BUNDLE WITH MOISTURE AND HEAT
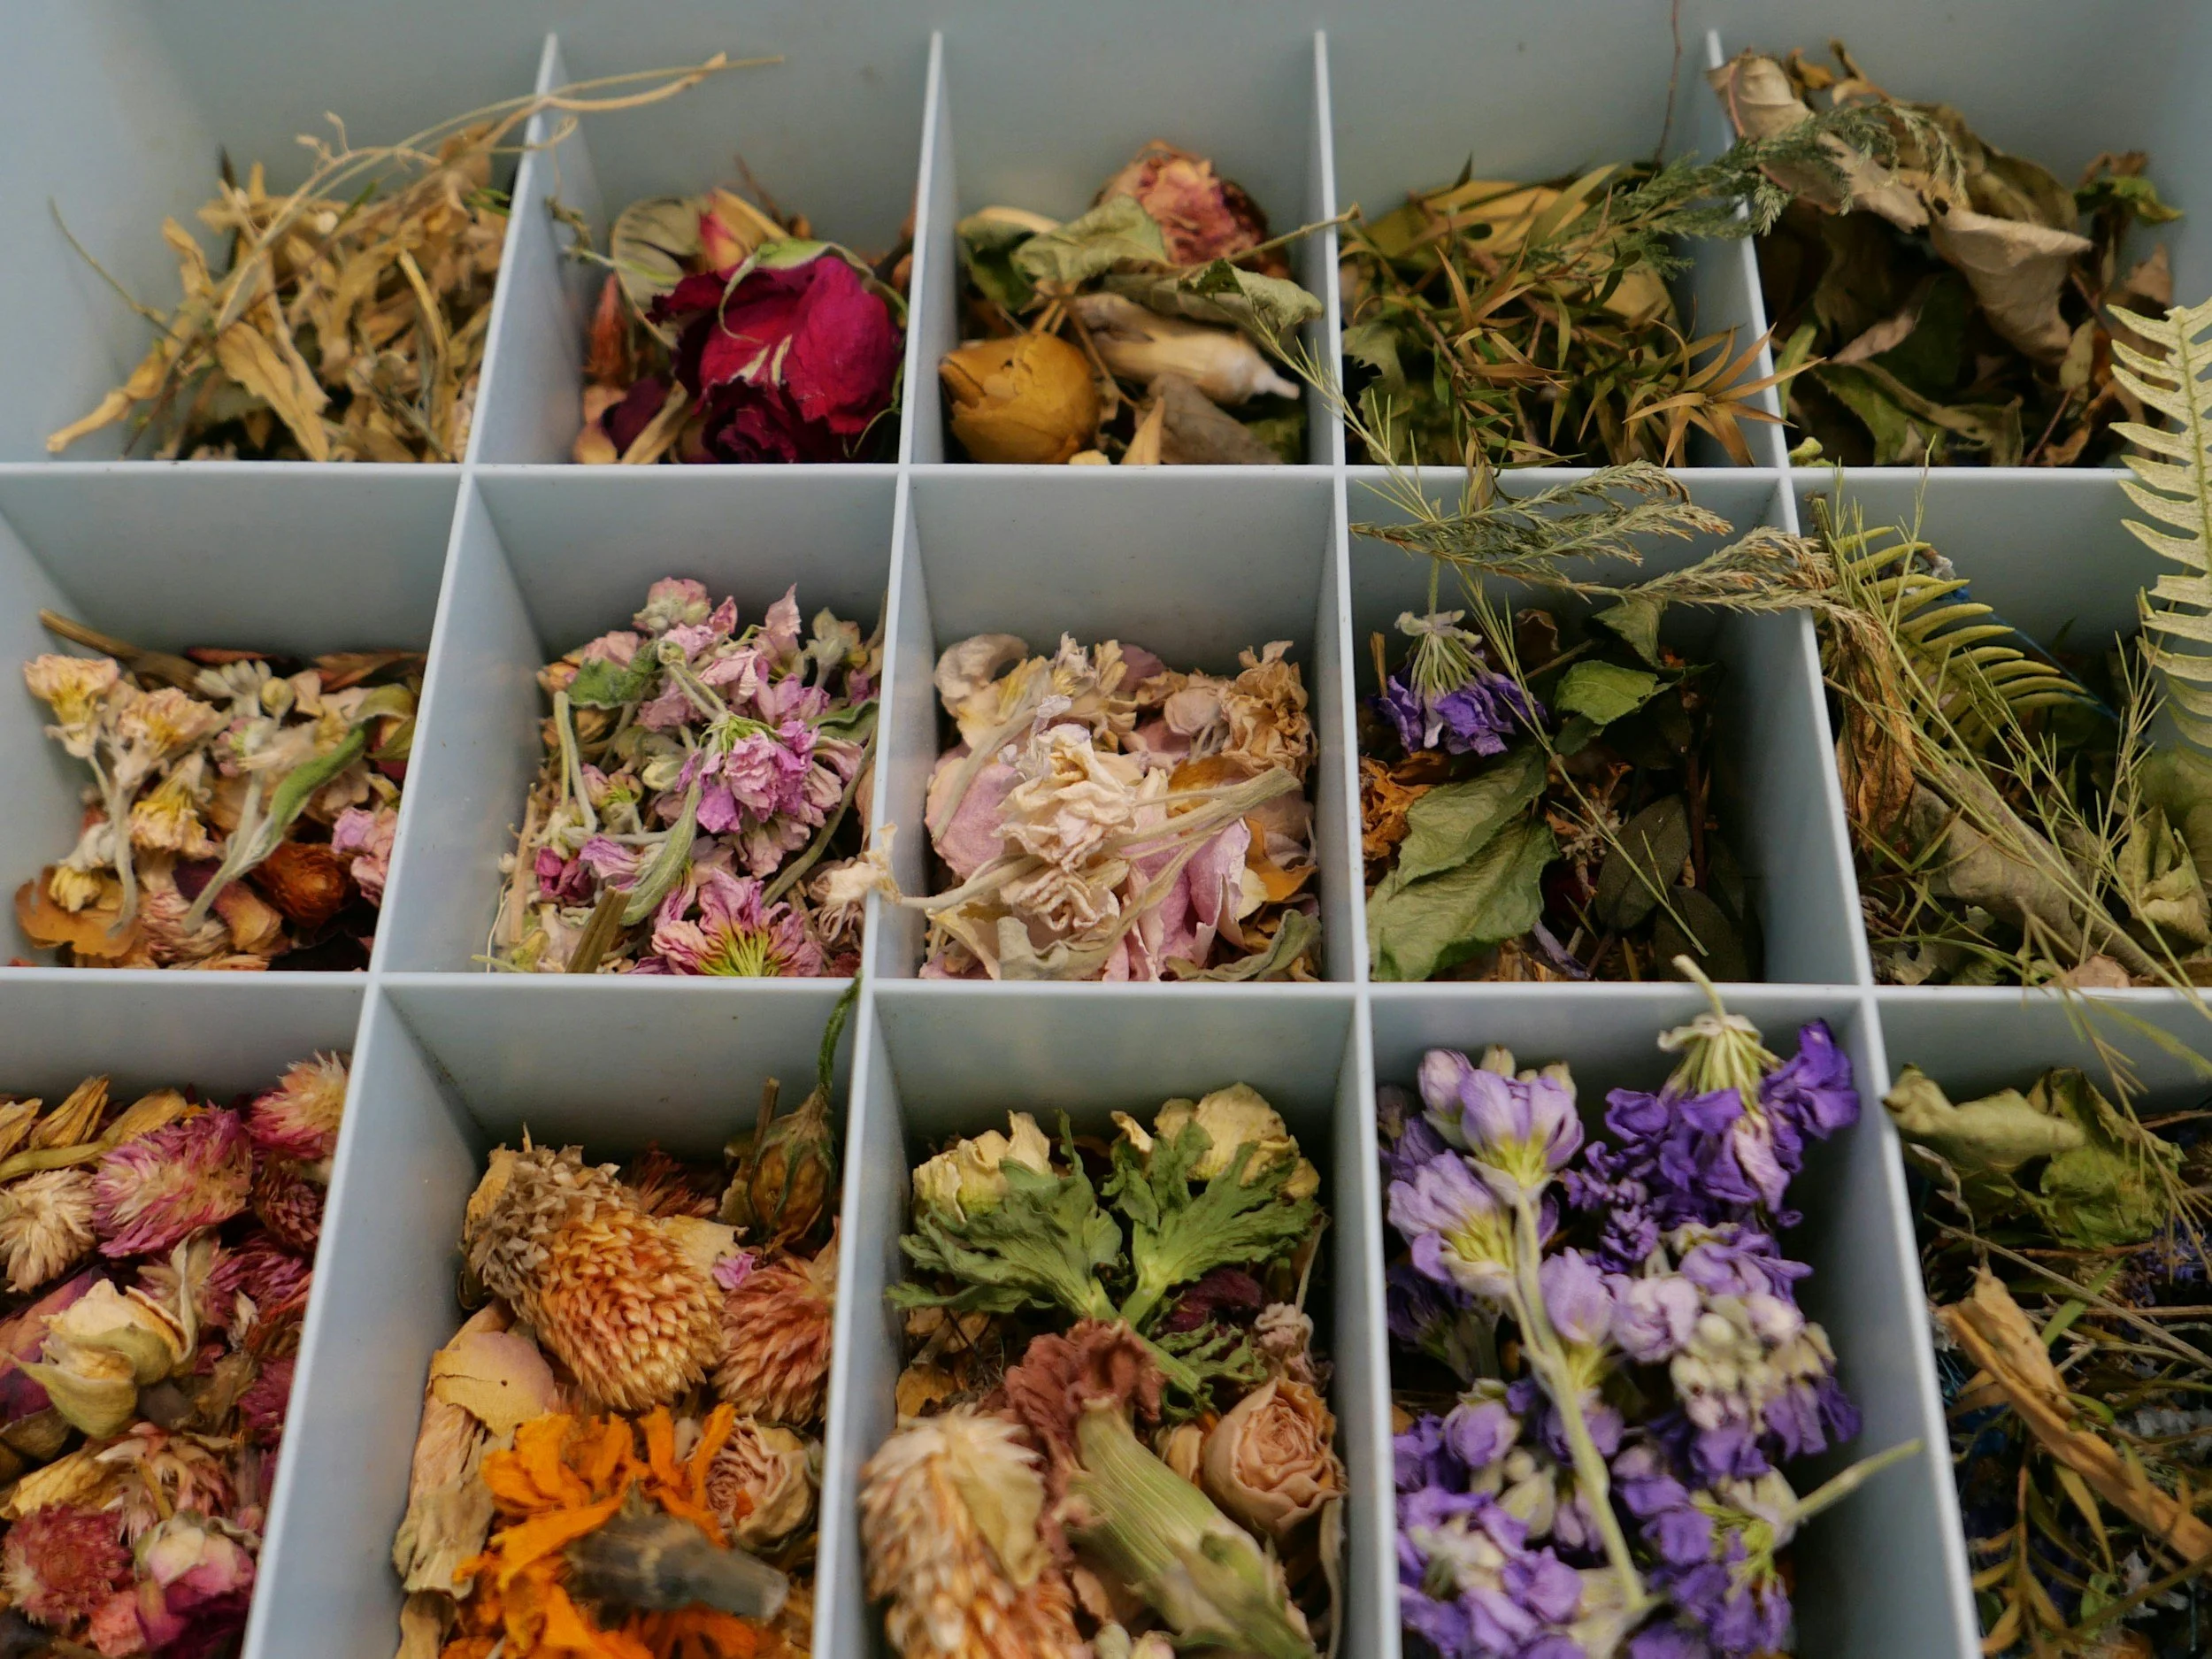
When selecting botanicals for botanical printing, it's important to take into account the duration required for them to process and unleash their tannins and pigments. The steaming period stands as a crucial aspect, albeit the final one, in botanical printing. Certain foliage types like eucalyptus exhibit remarkable resistance to steaming, necessitating prolonged steaming intervals to yield their vivid pigmentation onto the fabric. Conversely, some flowers are delicate specimens and need only 20 minutes to process. It's important to factor in that these characteristics might shift across the growing season. Should the leaf's structure disintegrate during cooking, it may adversely affect the print quality— the only way to truly test vegetation for optimal timing is through trial and error.
When working with botanicals for printing, it's important to acknowledge the variables that are beyond your control. However, your choices in selecting leaves and vegetation, steaming times, and the textiles and mordant combination used can greatly impact the outcomes. Embrace the potential for unexpected results that may thrill you— as sometimes “mistakes” may lead to something quite beautiful. Remember to document all your experiments to replicate successful outcomes.
You may wish to familiarize yourself with the printing profiles of local vegetation and conduct preliminary tests with small textile samples to refine your techniques. Observing, recording results, and experimenting are key to developing innovative approaches in your botanical printing journey. By staying open to new possibilities and learning from both successes and failures, you can uncover unique methods to produce prints that are the result of careful consideration.
A rough guide to
steaming times:
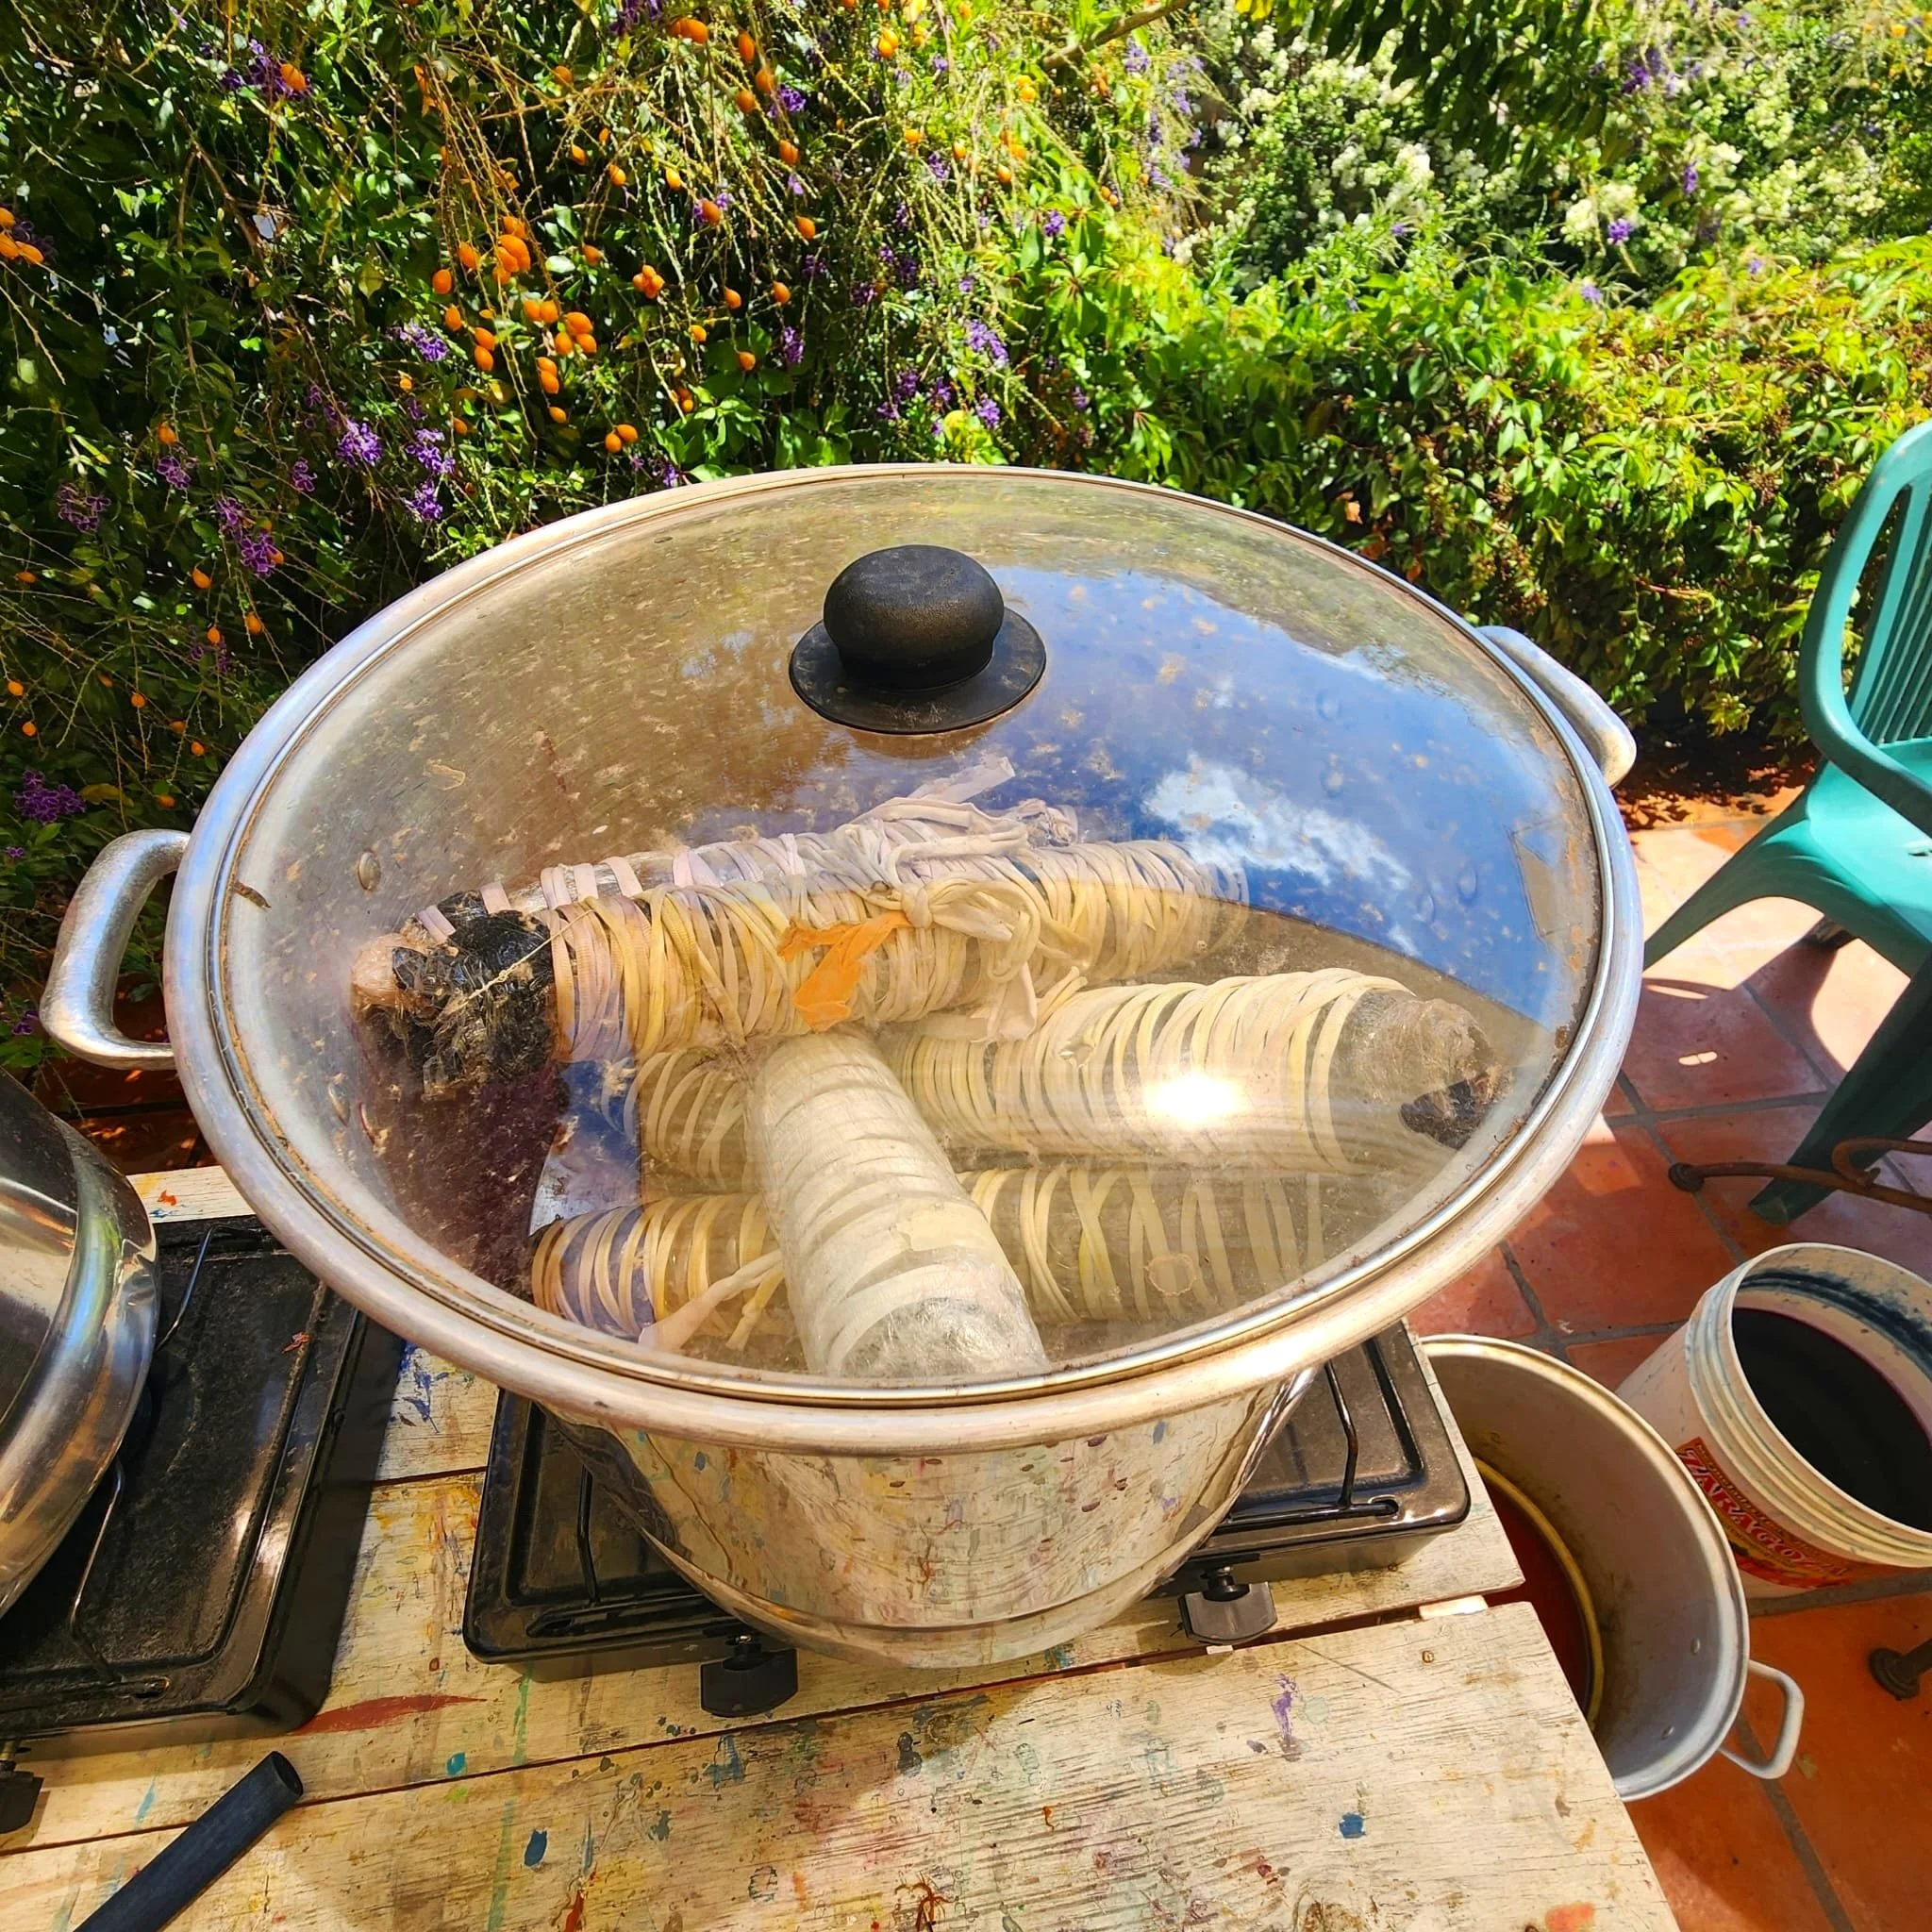
Once you have mordanted, bathed and dyed your fabric, you will most likely be rolling, bundling & steaming your fabric with flora to achieve the alchemical transformation of transmuting pigment, shadow and color from the flora into the fabric. Times vary for different plants, specifically eucalyptus, here are the basic steaming times:
Bundle without a barrier or eucalyptus: 45 minutes at a low simmer.
Bundle with a barrier and no eucalyptus: 45-60 minutes at a low simmer.
Bundle with or without a barrier and eucalyptus: 90 minutes at a low simmer.
Larger bundles may require more time to fully process and should be steamed for a bit longer than the above suggestions.
THE COMPOUND
MORDANT RECIPE
My Signature Compound Mordant Recipe
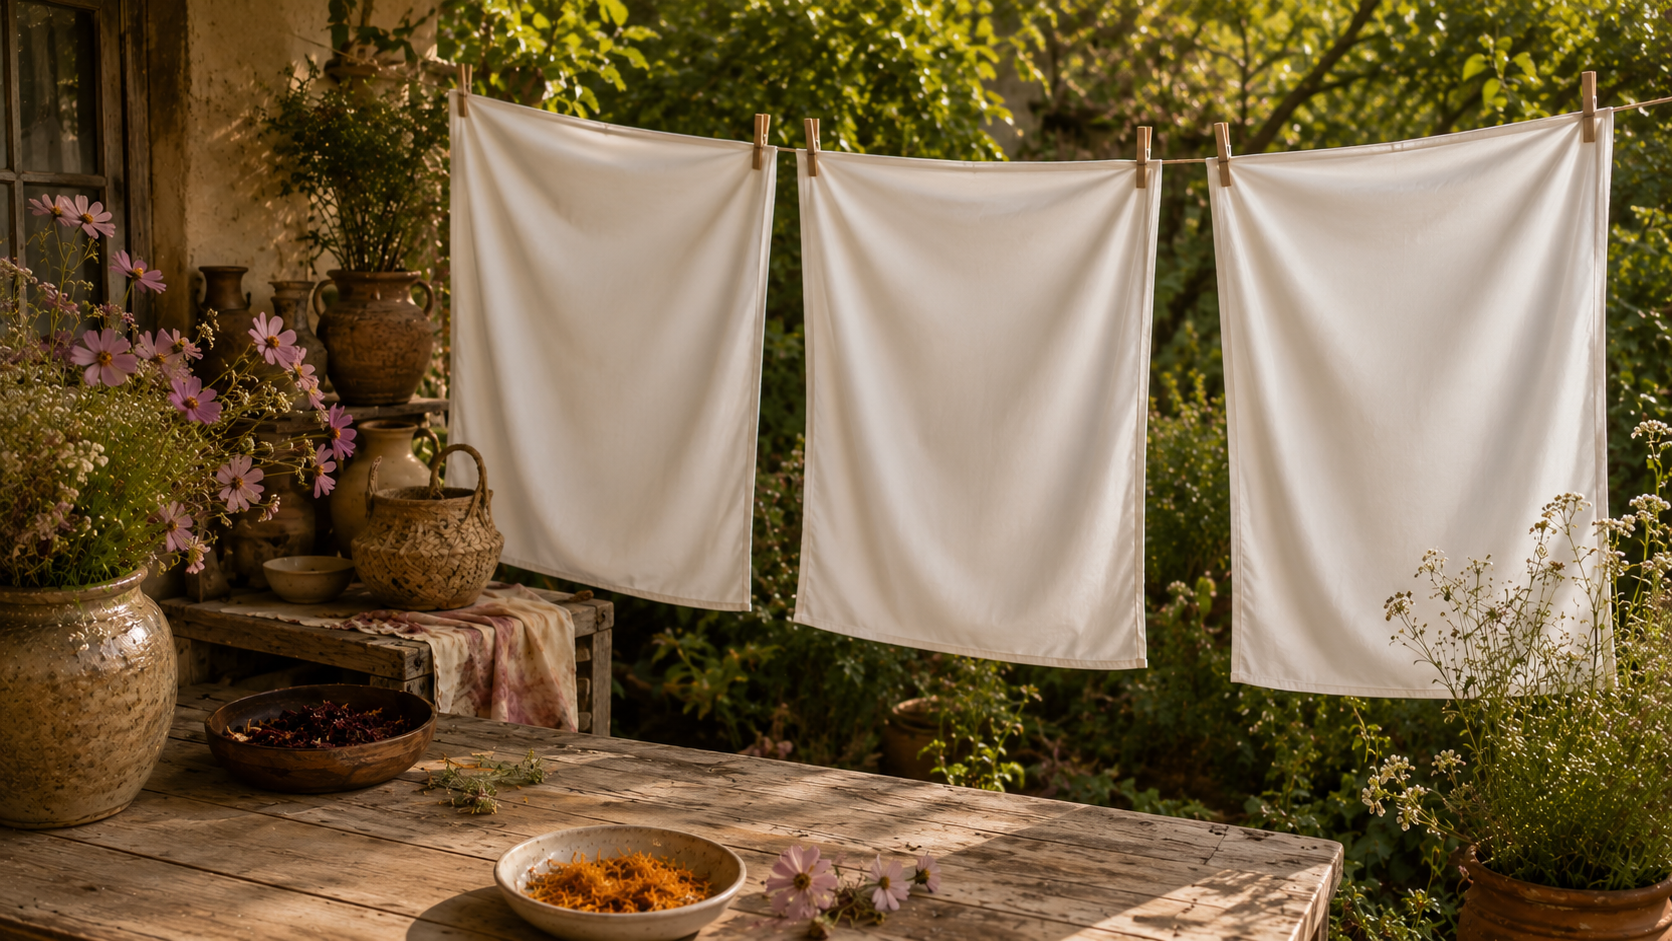
Over the years, I've refined a compound mordant recipe that consistently produces some of the richest, most detailed botanical prints I've achieved. Rather than relying on a single mordant, this method combines potassium aluminum sulfate (alum), ferrous sulfate (iron), and soda ash (sodium carbonate) or calcium hydroxide (hydrated lime) to create an environment that enhances both the clarity and permanence of botanical impressions.
Alum serves as the primary mordant, forming a bridge between the plant pigments and the fiber to improve color retention and wash fastness. A small amount of iron deepens tones, increases contrast, and encourages finer botanical detail, while soda ash or calcium hydroxide gently shifts the pH, helping fresh flowers and leaves release their natural pigments more effectively. The result is exceptional definition, luminous color, and beautifully preserved botanical forms on both protein fibers such as silk and wool and cellulose fibers including linen and cotton.
One of the reasons I love this recipe is its versatility. It performs equally well with delicate fresh blossoms and sturdy leaves, allowing you to work intuitively with whatever the season has to offer while achieving consistently beautiful results.
A Note on Safety
The ingredients used in this recipe are commonly employed in natural dyeing and textile arts and are considered safe to work with when handled responsibly. The primary precaution is to avoid inhaling the fine powder while measuring dry chemicals. I recommend wearing a properly fitted dust mask or respirator during measuring and mixing, working in a well-ventilated area, and avoiding creating airborne dust. Once the powders have been dissolved in water, this concern is greatly reduced.
As with any studio practice, wash your hands after handling chemicals, label your containers clearly, and keep all materials out of reach of children and pets. By following these simple precautions, you can enjoy a safe, rewarding, and environmentally mindful botanical printing practice.
To create the coMpound mordant you’ll need:
A container that your goods will fit into (plastic buckets are great)
1/2 liter of distilled white vinegar
50 grams Potassium Aluminum Sulfate
2-4 grams Ferrous Sulfate
25 grams soda ash OR 25 grams calcium hydroxide
Add alum to a clean pot or bucket.
Add 1/2 liter of vinegar and whisk until alum is fully dissolved.
Add ferrous sulfate and whisk until it is fully dissolved.
Add soda ash to the mix and whisk until fully dissolved. There may be some bubbling— this is normal.
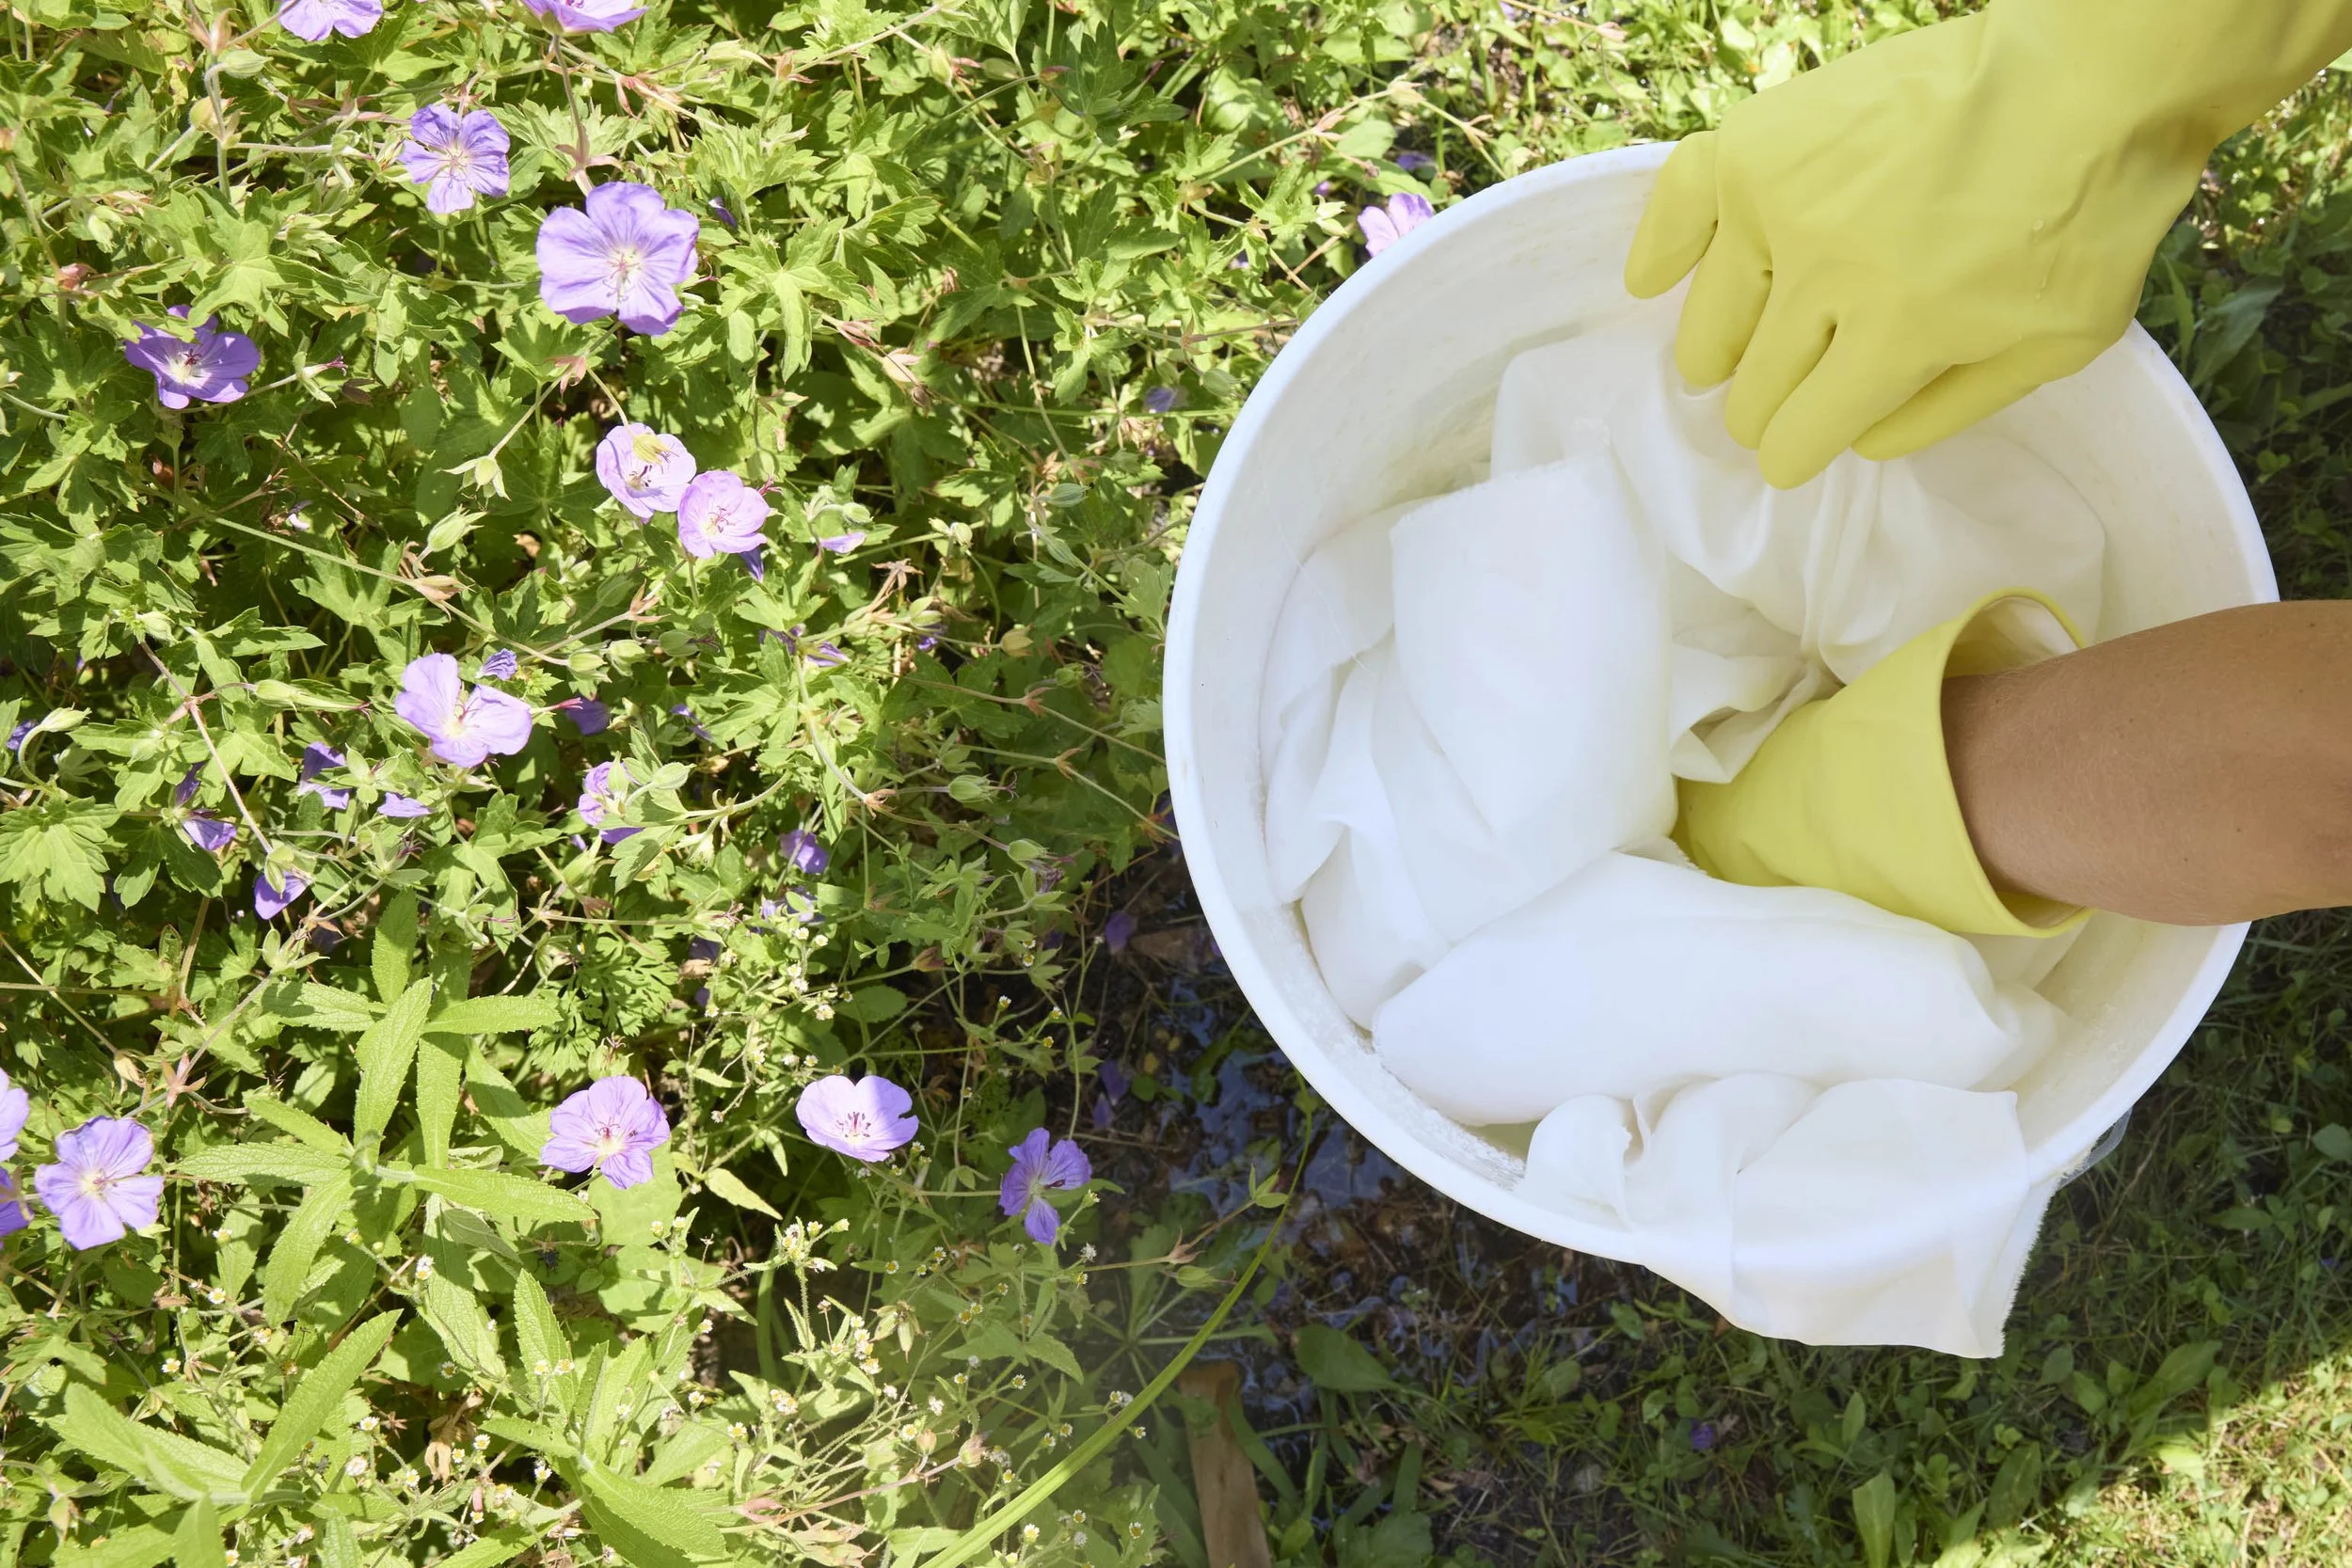
Add your fabric DRY to the solution and work in the fabric for 1-2 minutes. Allow fabric to become completely saturated with the mordant solution.
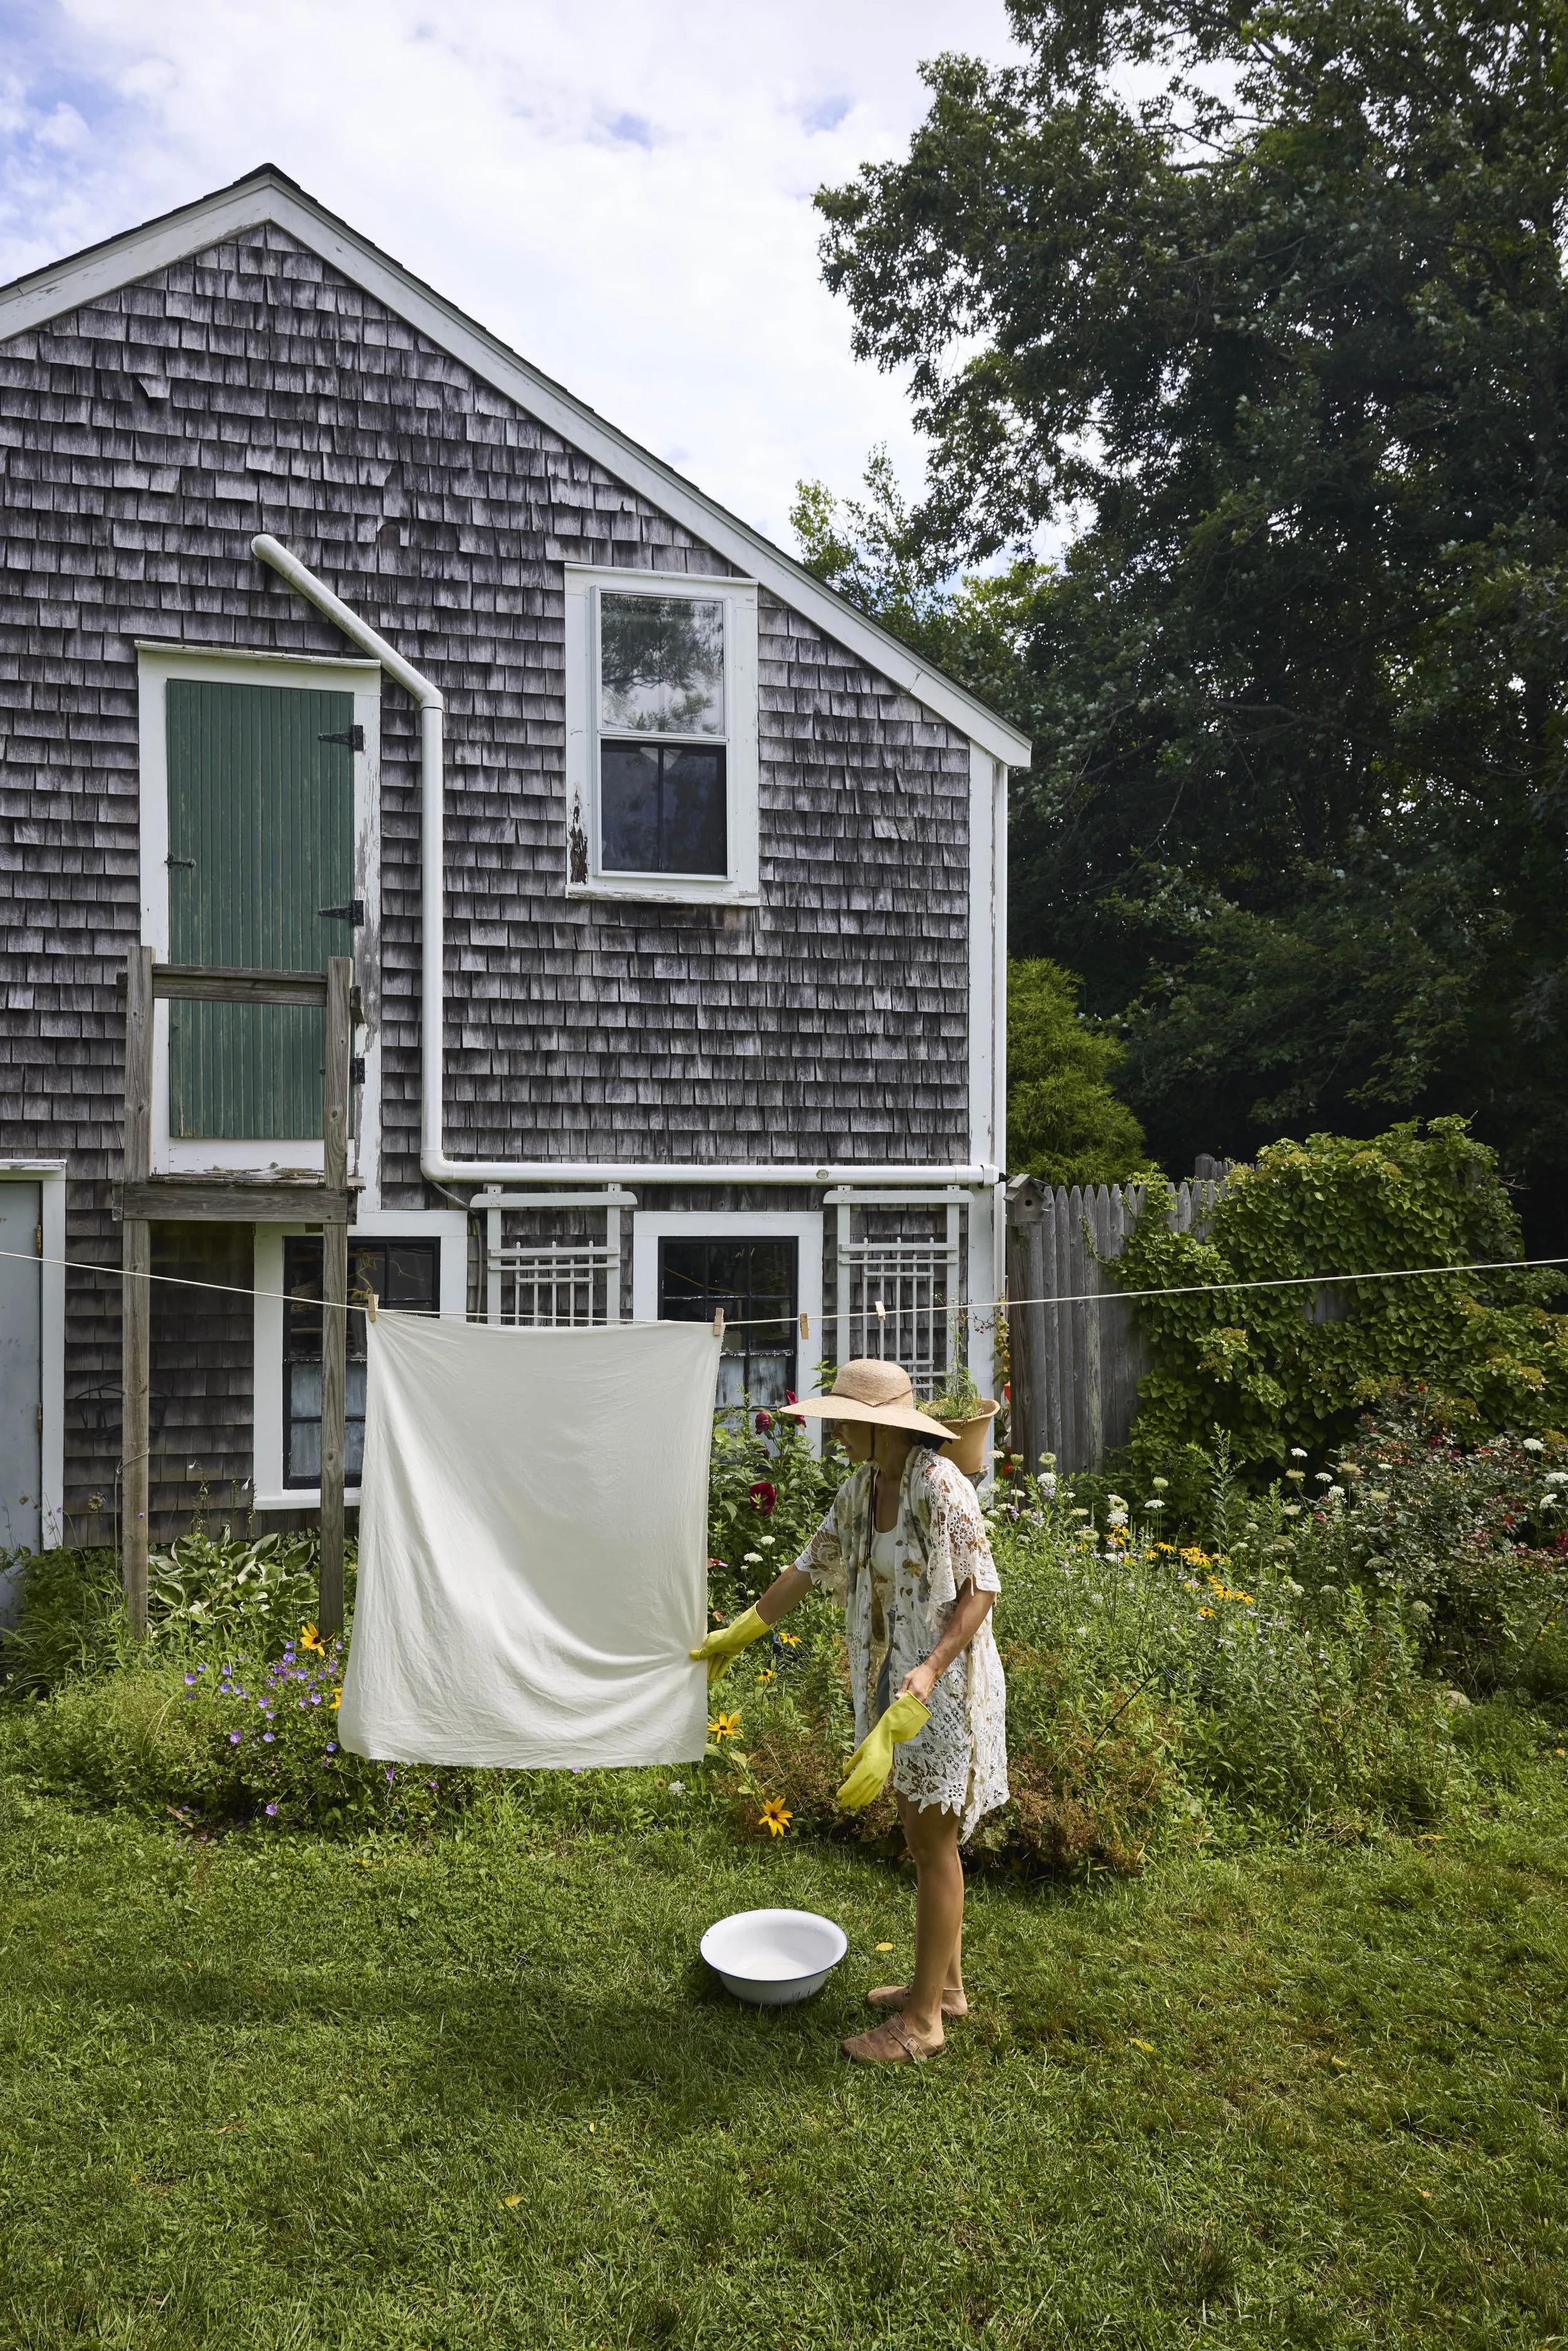
Wring out and hang to dry fully.
Once dry, rinse fabric gently, careful not to inhale any powders from the dried, mordant powders (wear a mask).
Fix the mordant: place fabric into the OATMEAL BATH solution (PAGE 128 in my book) or follow the steps below.
OATMEAL BATH:
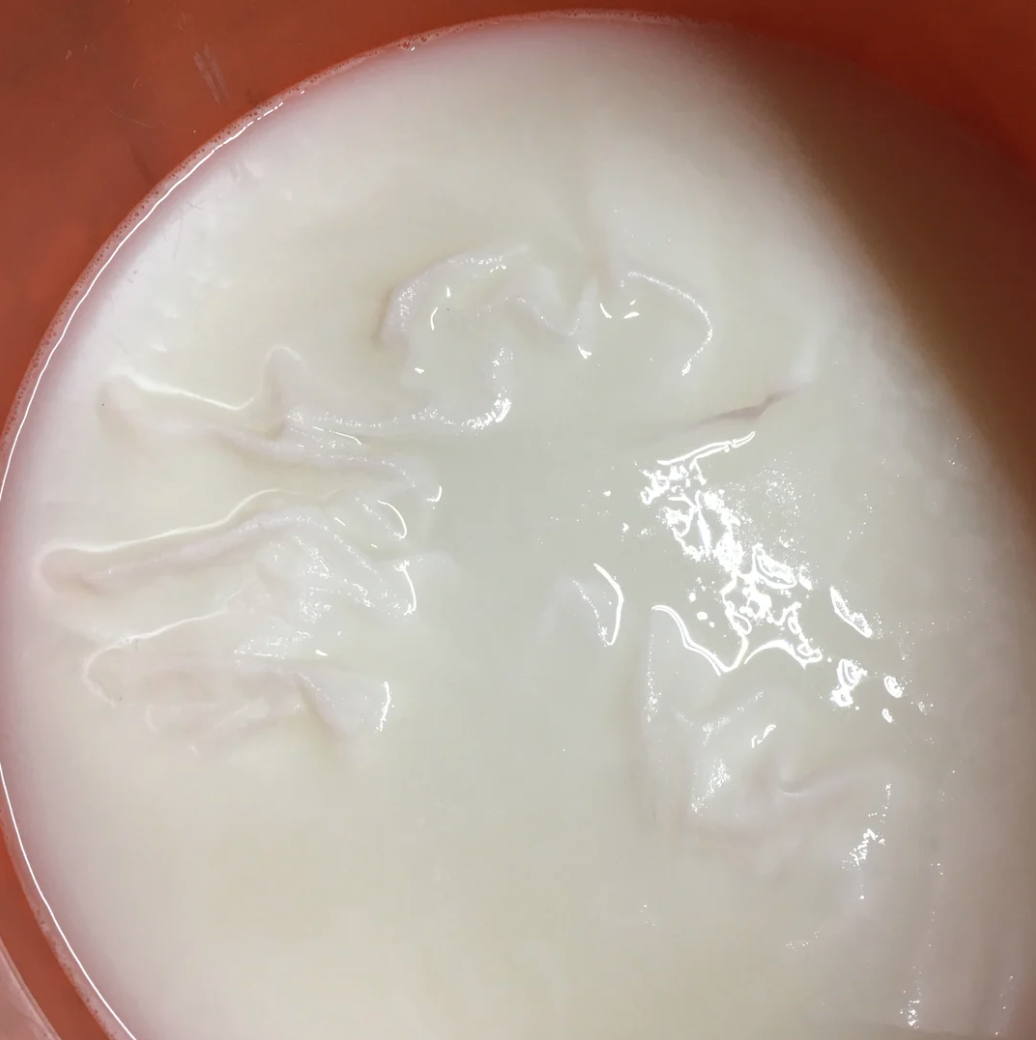
After you have mordanted your fabric in any of the compound recipes in this course, it is necessary to place your fabric in a bath in phosphate-rich oatmeal, wheat bran or calcium carbonate to help remove any stray mordant molecules left on the fibers from the mordanting process– this will also aid in fixing the mordant to the cloth through a chemical reaction. This process was historically known as dunging.
STEPS TO MAKE
THE OATMEAL BATH
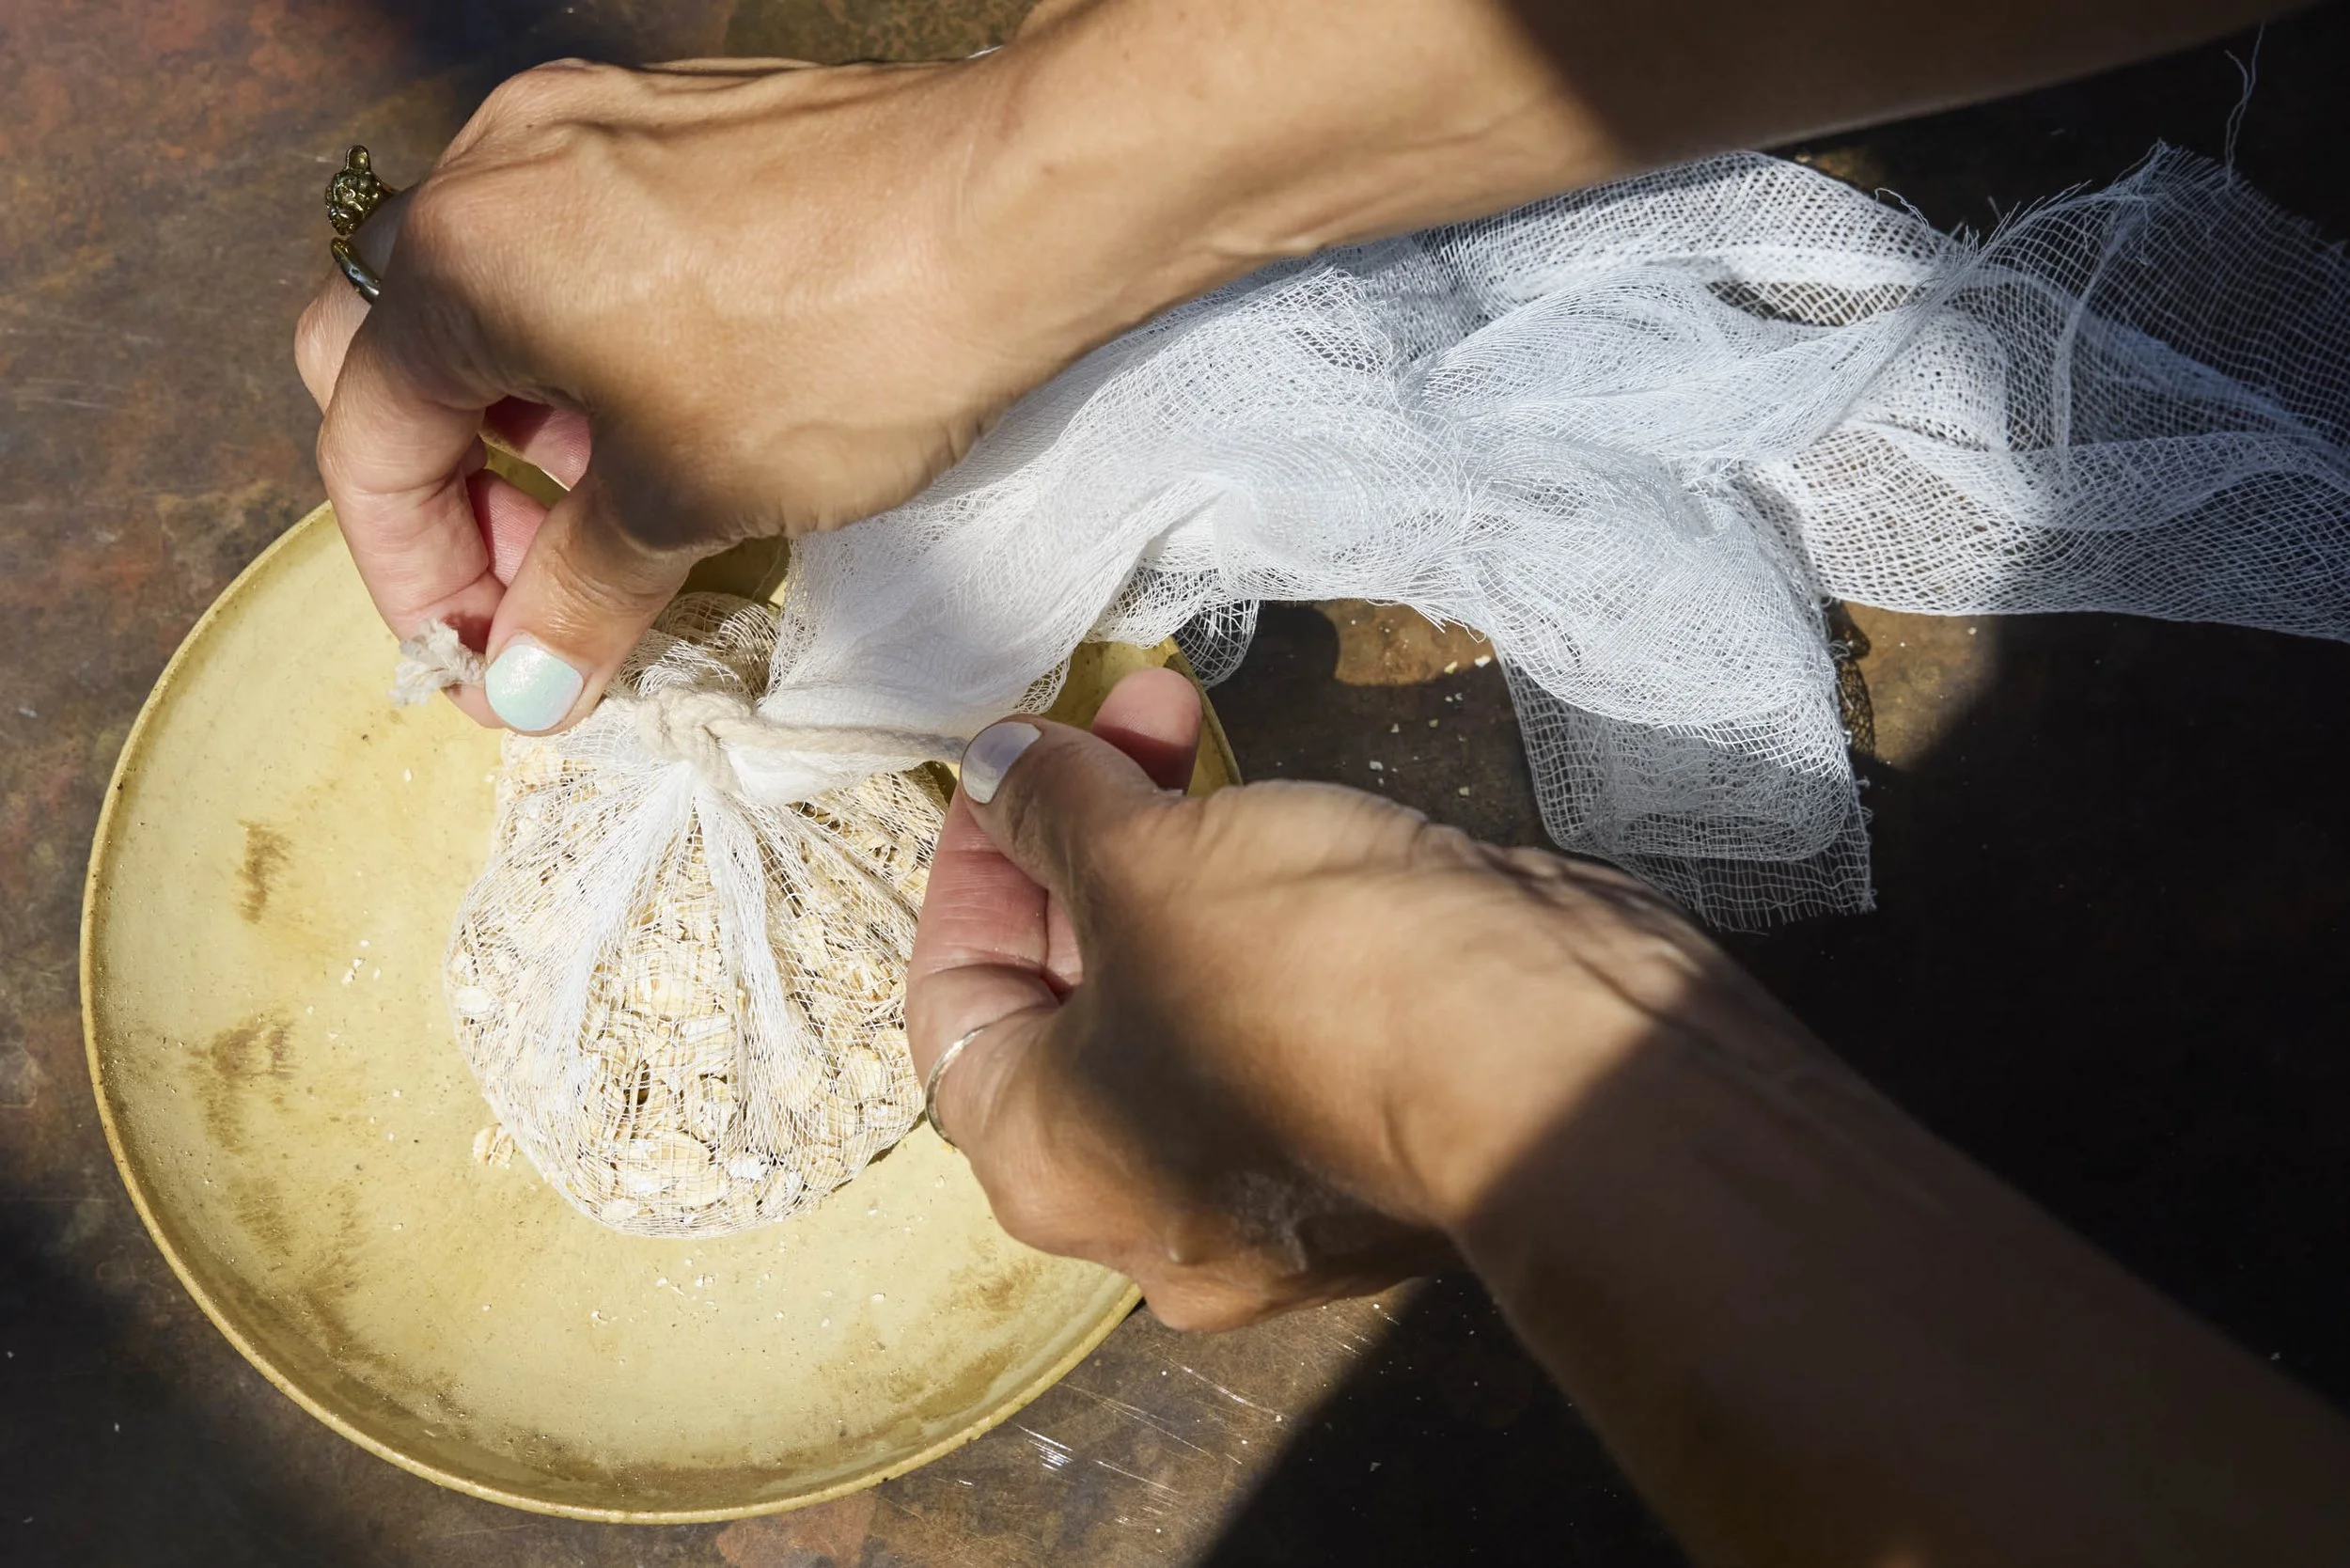
Enclose 3/4 cup of oatmeal or wheat bran in a cheesecloth bundle (or nylon stocking).
If using calcium carbonate, to 5 liters of warm water add 50g of calcium carbonate. Stir and go to step #5.
Fill a bucket with enough water to hold your mordanted fabric, warm water is best. If you use hot tap water, you do not need a heat source as this is sufficient heat for the wheat bran/oatmeal bath.
Work the wheat bran bundle for a few moments, then let sit for 15-20 minutes. The solution will be milky.
Place the mordanted fibers into the bath for 5-30 minutes, rotating occasionally.
Remove the fibers from the bath and rinse.
The fibers are now ready for dyeing or hang to dry and store.
This solution lasts about 1-3 days. If you notice it starting to bubble or smell fermented, it’s time to make a fresh solution.
DOWELS
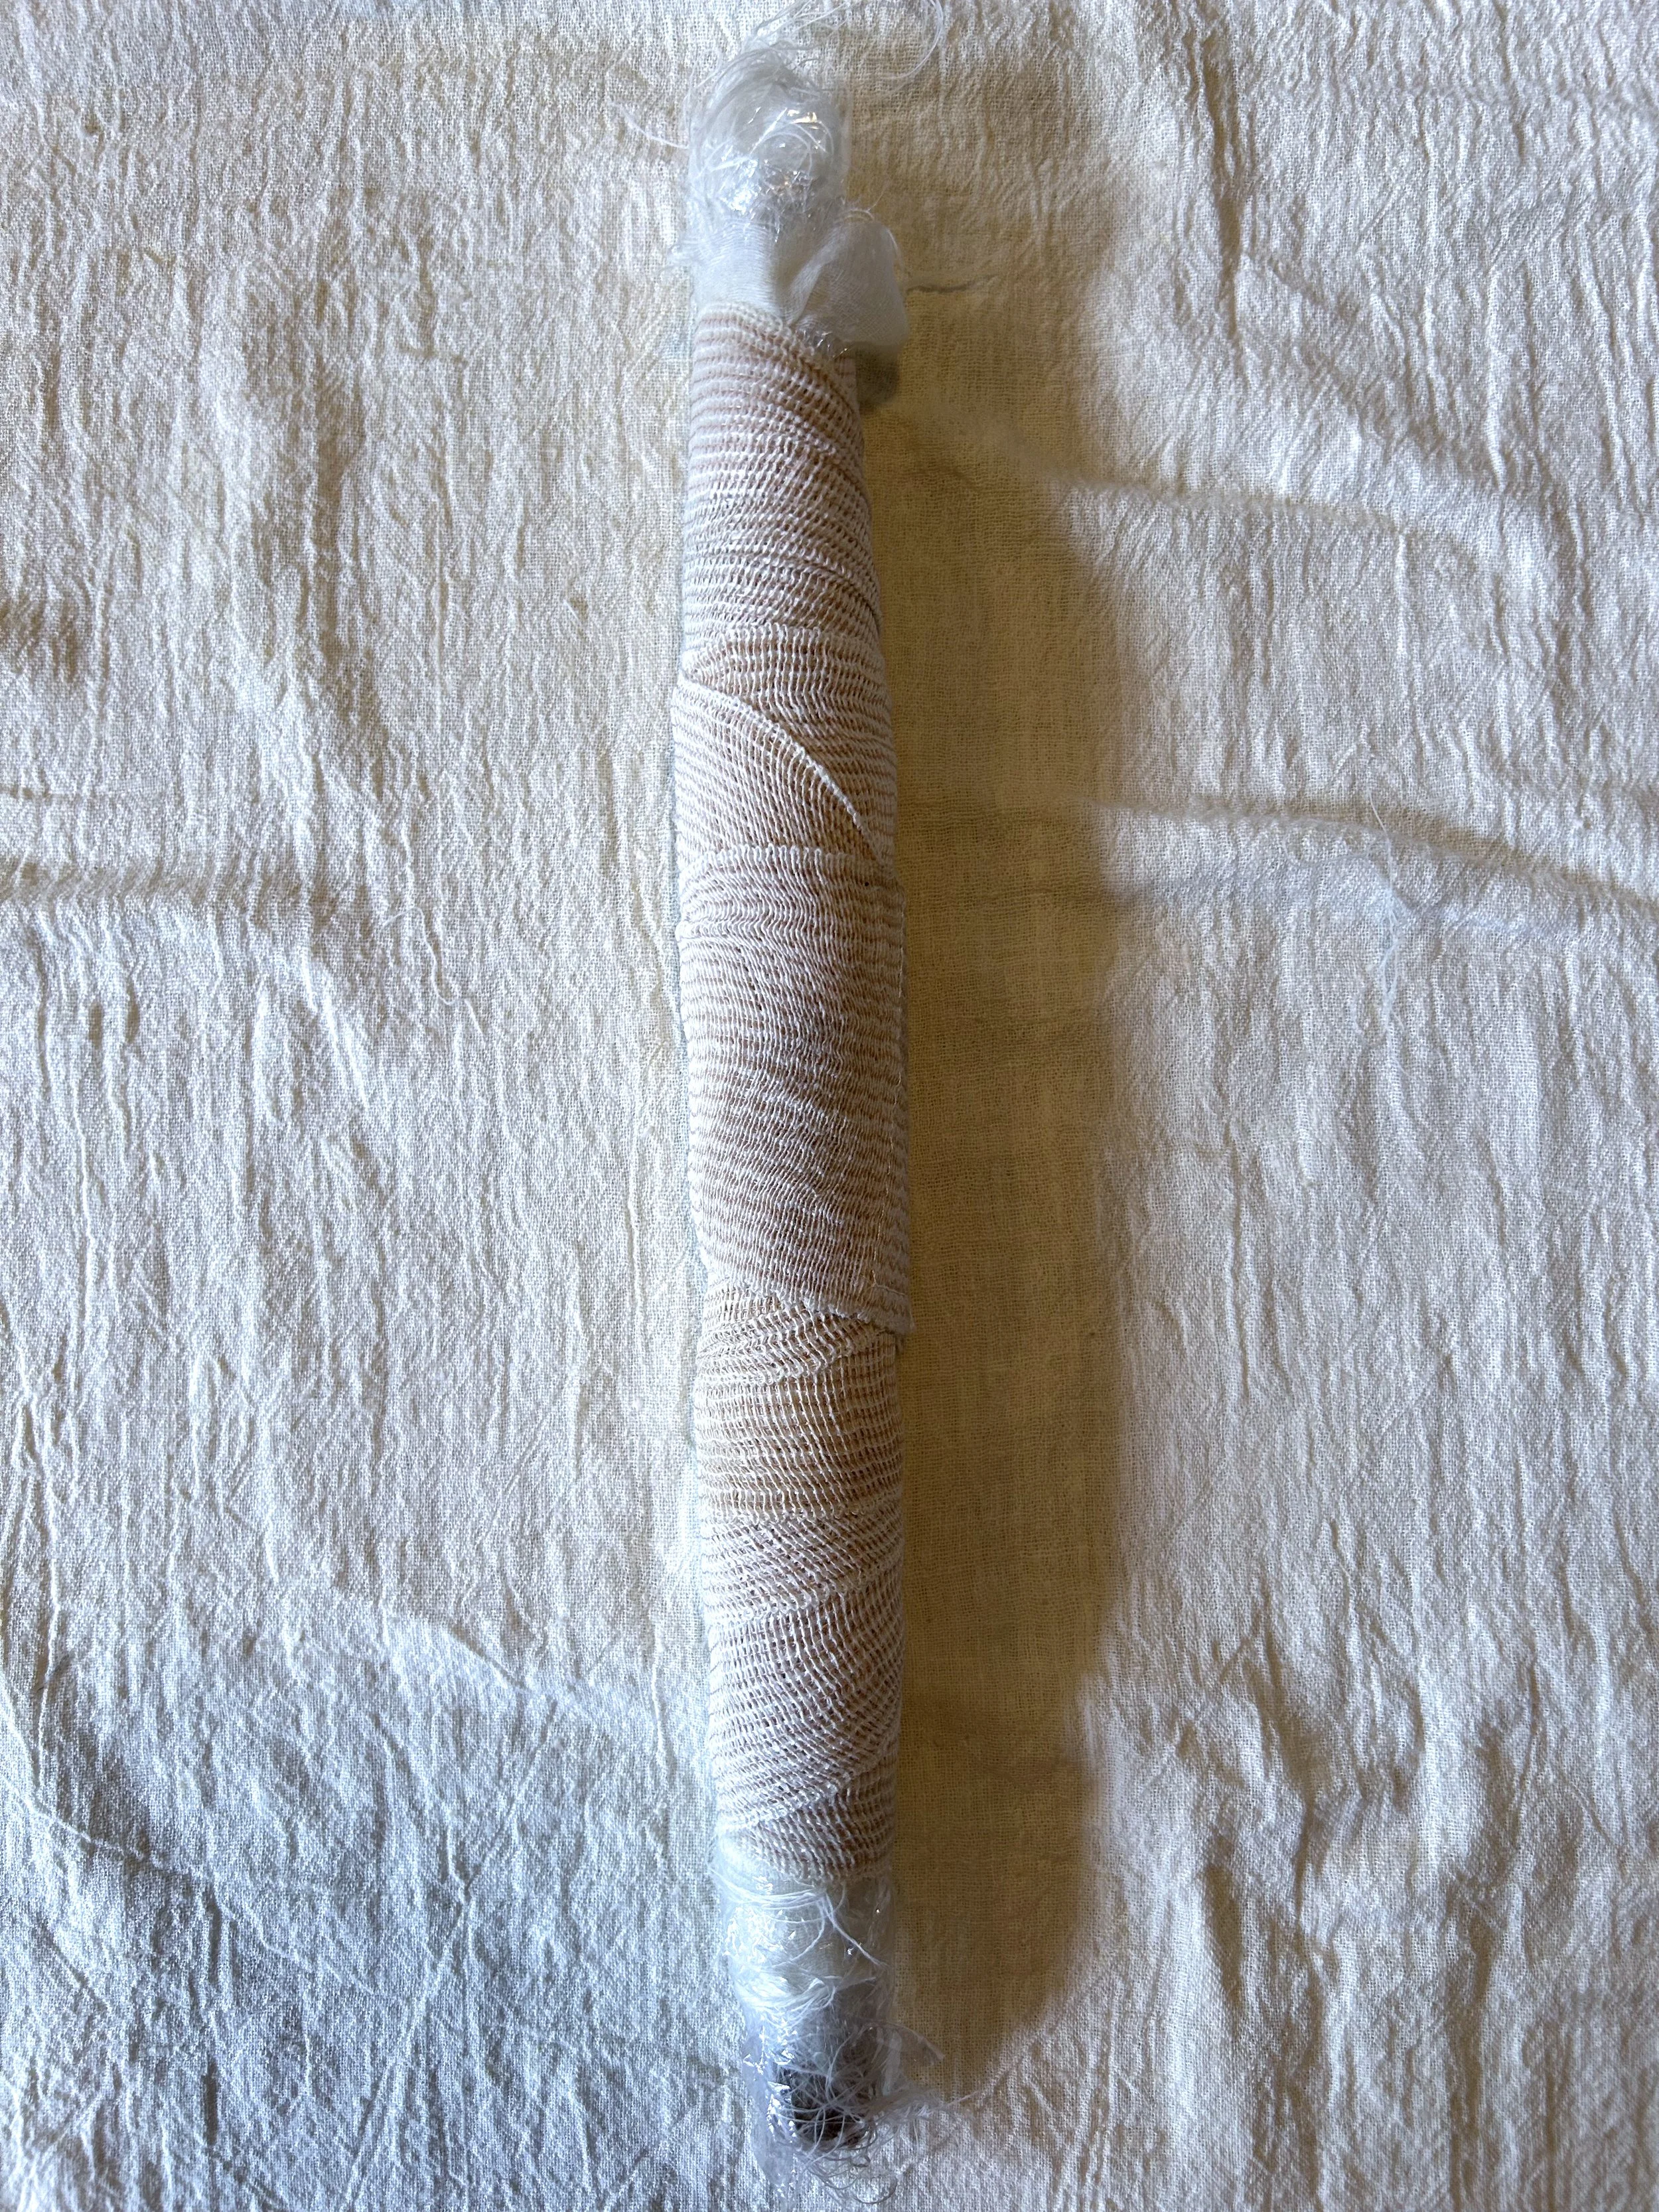
The bundling dowel serves as a solid surface for compressing vegetation against the target fabric during rolling, crucial for creating a manageable size for steaming.
Ensure the dowel fits into the steamer with the lid on.
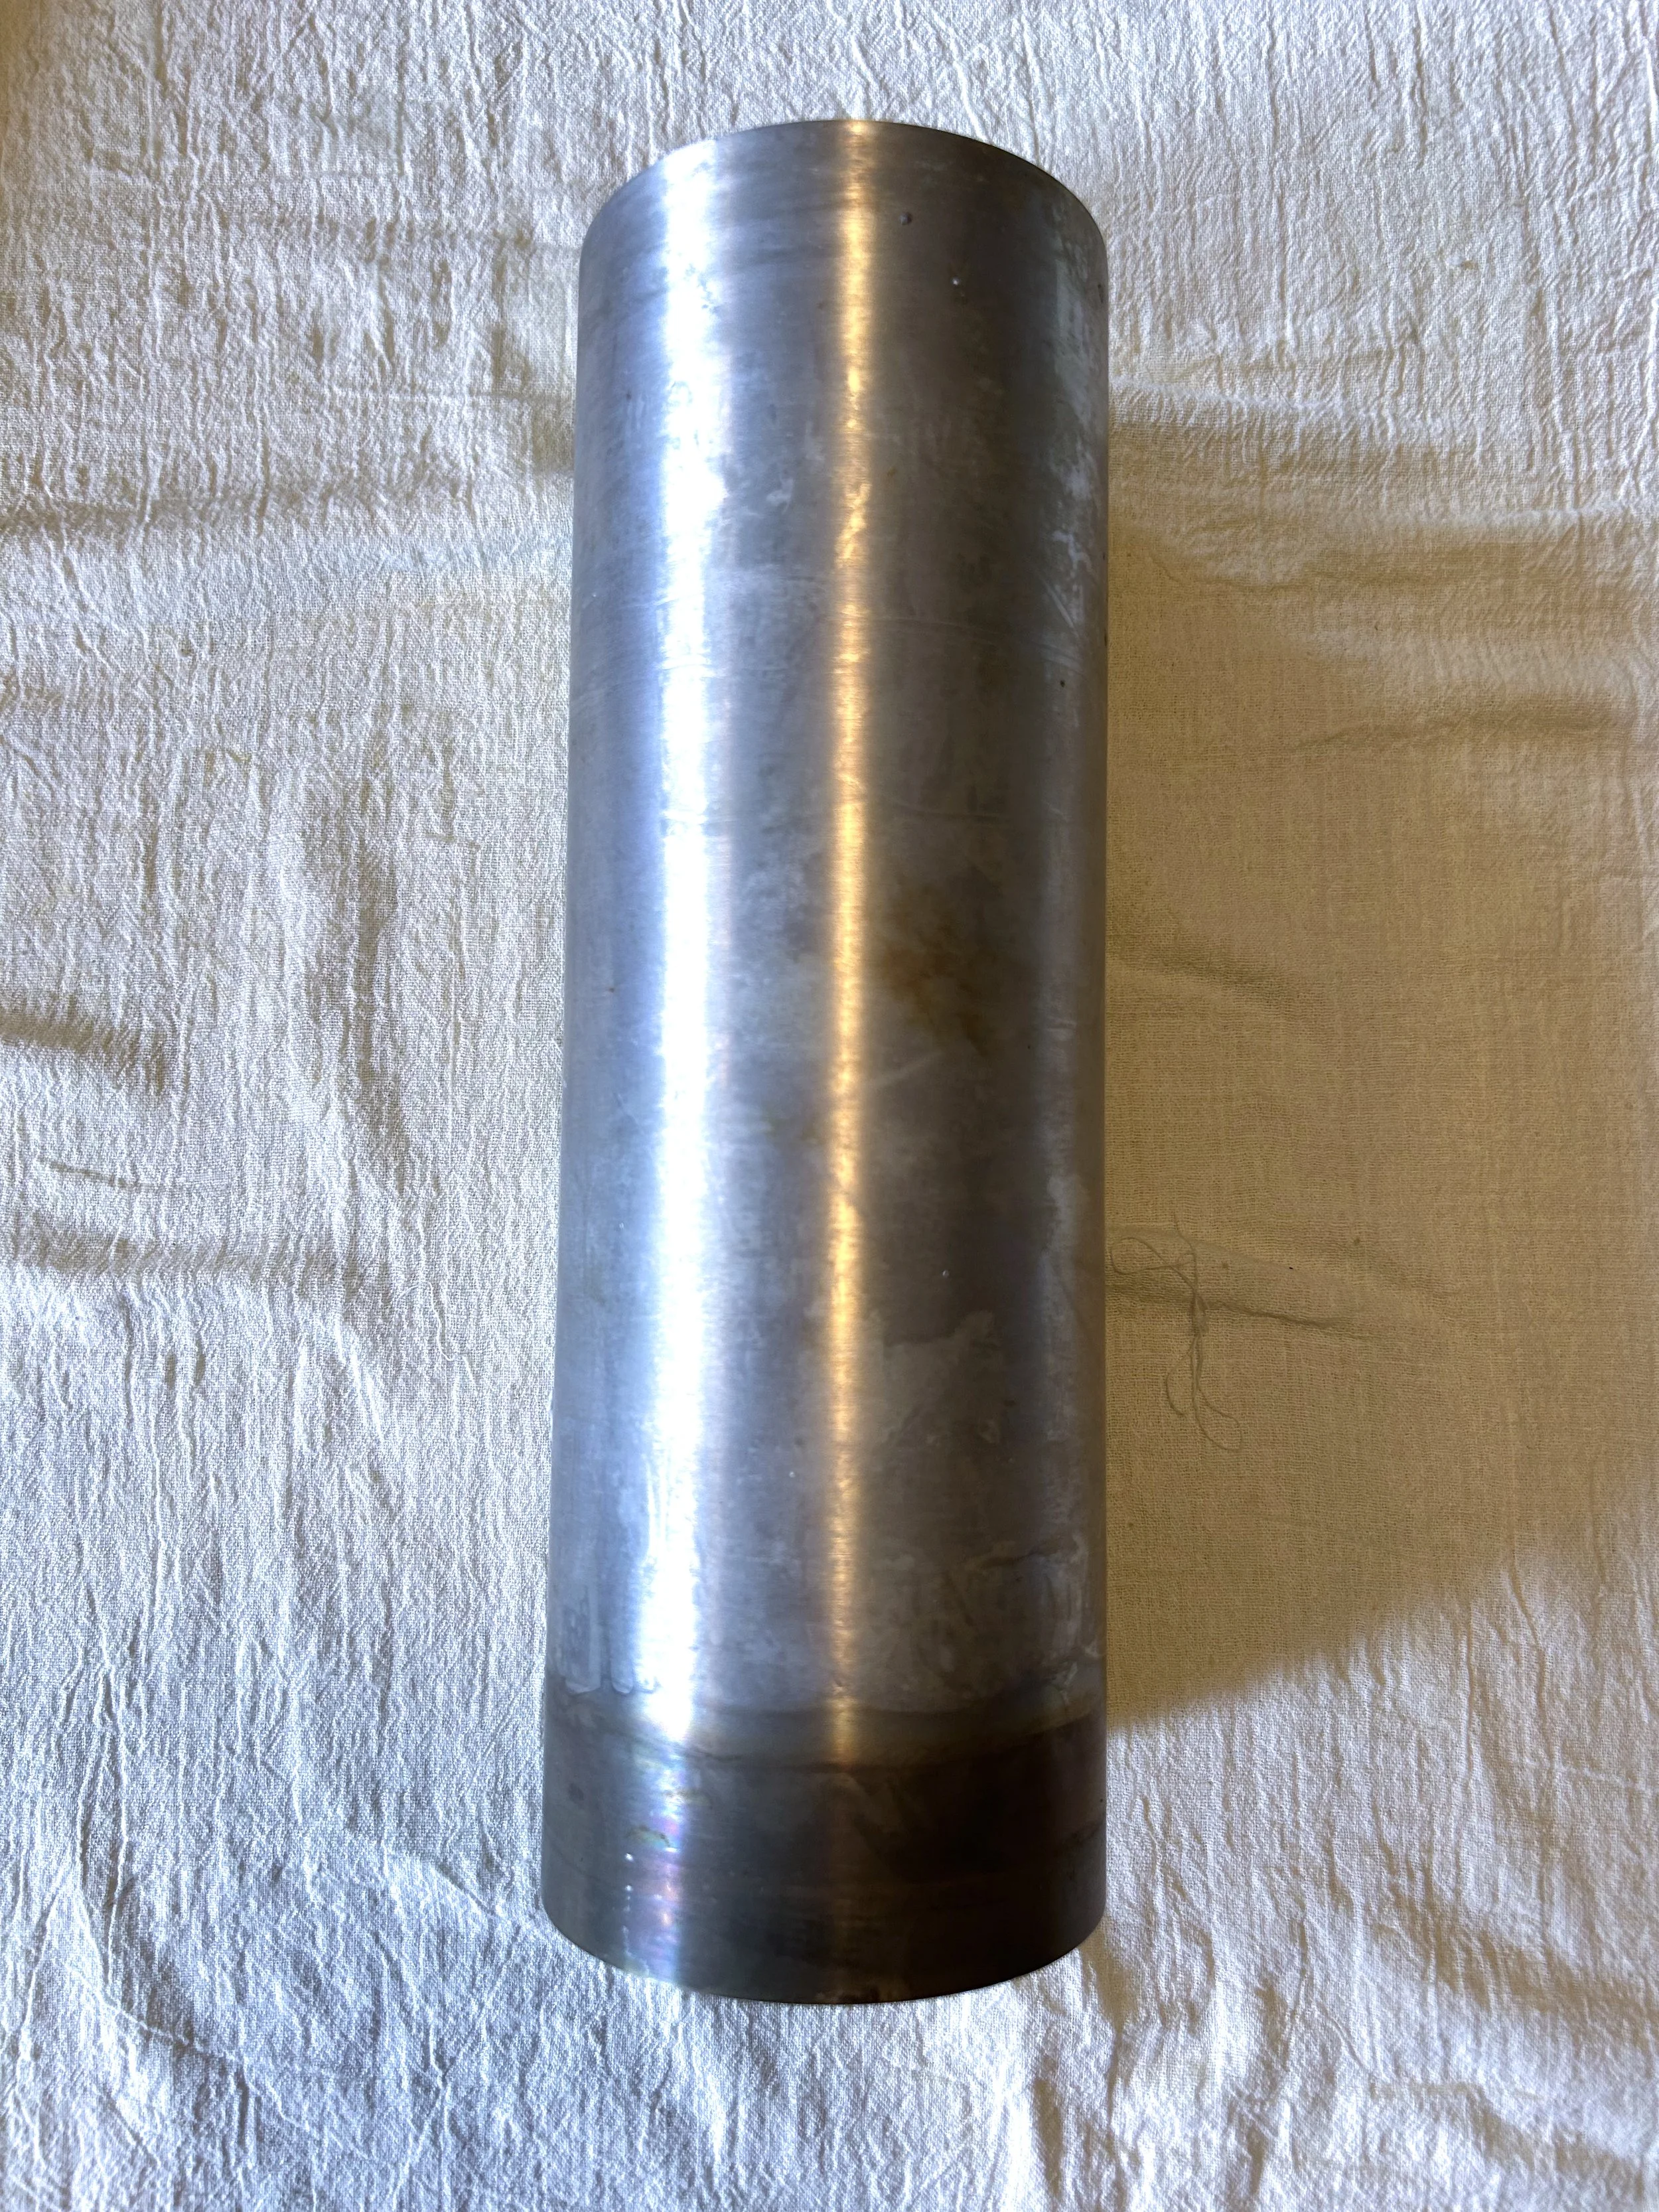
Ensure to use a solid wooden or hollow metal pipe that doesn’t bow or bend to avoid introducing kinks and creases into the bundled layers.
A minimum diameter of 1/2” is recommended, I prefer to use a wider diameter such as 1” in wood and up to 5” in metal pipe for larger works.
Experiment with wider dowels like iron and copper pipes for unique colors in the prints, but cover them in plastic if you wish to avoid this effect.
When using new wooden dowels, cover them in plastic to prevent any wood treatments from staining the textile or blanket.
How to Scour Protein Fibers:
One helpful step you can take before scouring and mordanting is to wet out the fiber prior to scouring. This simply means to place the fabric in a vessel of water with a small amount of ph-neutral soap which acts as a surfactant and will aid in fully soaking the fibers.
Simple scour for protein fibers:
Weigh your fabric dry and make a note of it.
Use 1-2% weight of fiber pH-neutral soap or 100% olive oil soap— normally I use about a teaspoon for 200 grams of fiber.
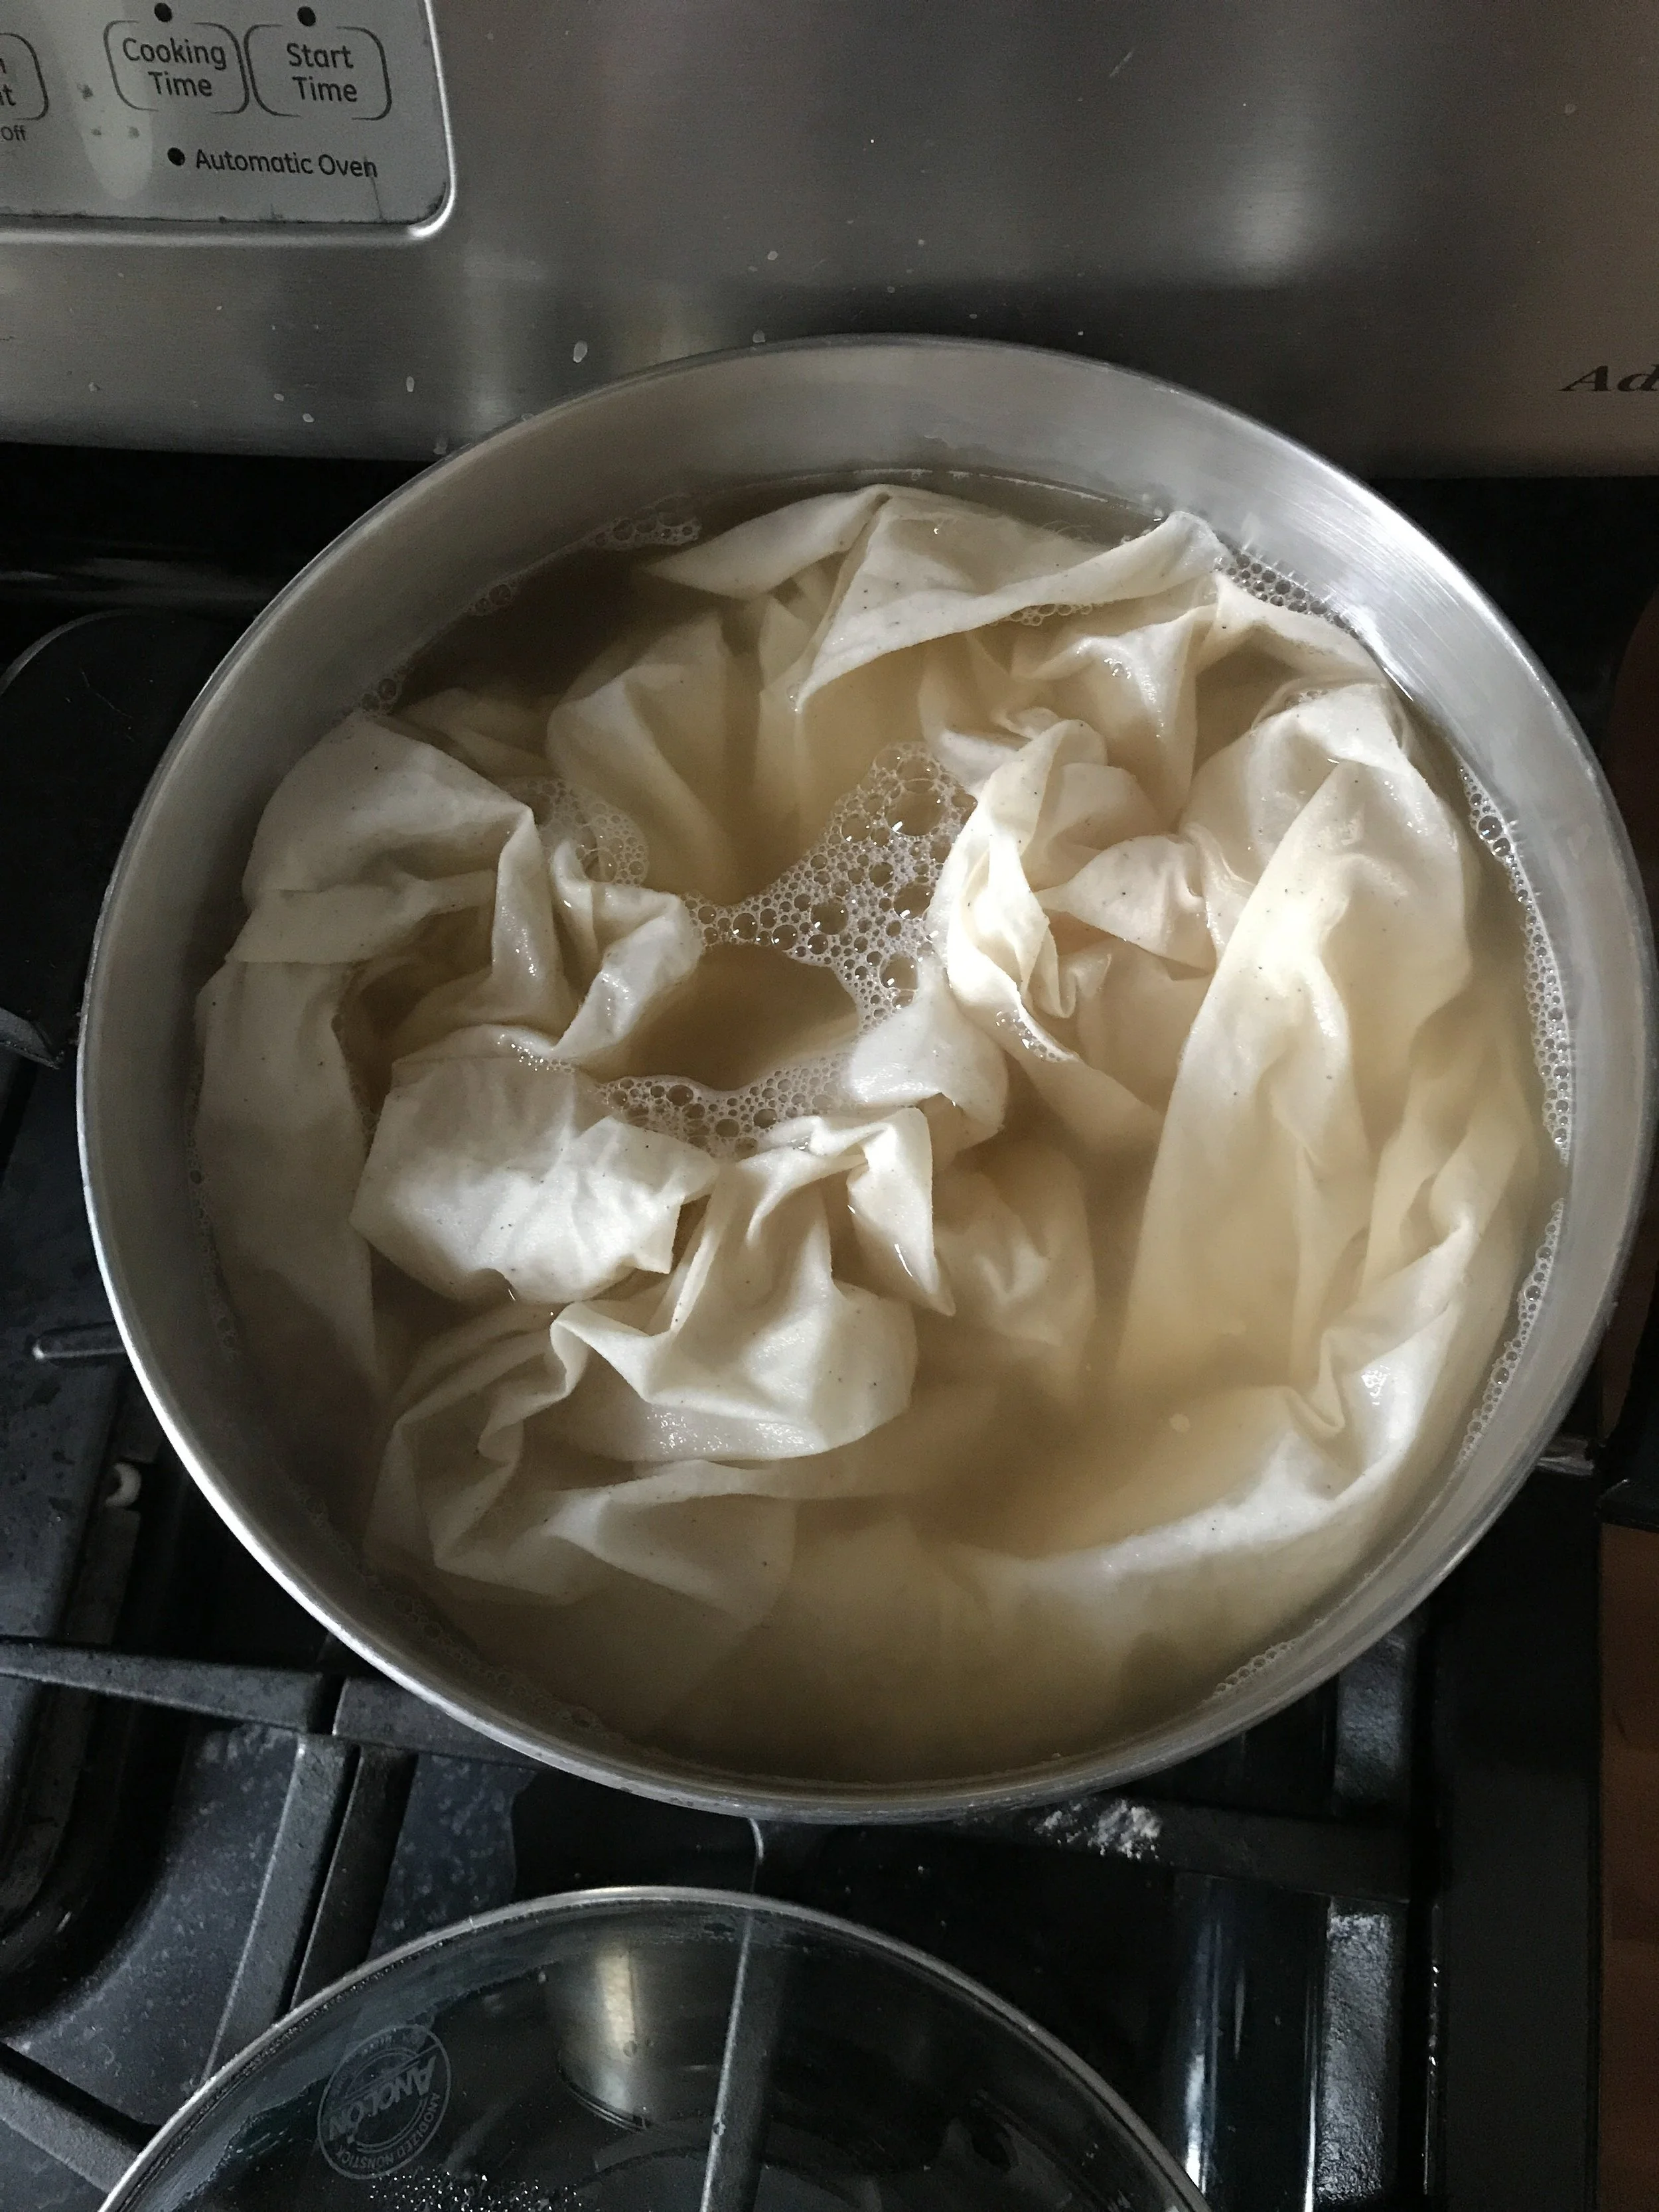
Fill an aluminum pot large enough to accommodate your fabric with water and add the soap. Add protein fibers and stir. Top off with enough water so that the fabric is fully submerged. Gently heat the water but do not reach a simmer, aim to keep it around 140 degrees Fahrenheit (60 degrees Celsius) for one hour. The water may be colored and murky, a sign of a job well done. Allow it to cool completely before mordanting.
UNITED STATES /
Fabric, mordants, botanical dyes:
Dharma Trading Co. www.dharmatrading.com
Botanical Colors www.botanicalcolors.com
The Yarn Tree www.theyarntree.com
Organic Cotton Plus www.organiccottonplus.com
Picknatural www.picknatural.com
Aurora Silk www.aurorasilk.com
AUSTRALIA /
Fabric, mordants, botanical dyes, instruction:
Kraftcolour www.kraftkolour.net.au
Beautiful Silks www.beautifulsilks.com
CANADA /
Fabric, mordants, botanical dyes, instruction:
Maiwa www.maiwa.com
FRANCE /
Mordants, botanical dyes:
Green’ing www.green-ingredients.com
Couleur Garance www.couleur-garance.com/
NATURAL DYE SEEDS /
Grand Prismatic www.grandprismaticseed.com/
Strictly Medicinal Seeds www.strictlymedicinalseeds.com/
UNITED KINGDOM /
Mordants, botanical dyes, fabrics:
George Weil www.georgeweil.com
Wild Colours www.wildcolours.co.uk
Themazi www.themazi.com
ISREAL /
Fabric, mordants, botanical dyes, instruction:
Suzanne Dekel www.suzannedekel.com